Owning my Kindle
Translations: Português (pt-BR)Several years ago my mother gave me a Kindle Paperwhite 2. I have read a few books on it since, but it never felt like it was really mine. Locking the screen showed some annoying ad, all books bought from Amazon were protected by DRM, books transferred through USB only worked if they were in Amazon's .mobi format, and there was always the unease of knowing that every page I flipped could be being reported back to their headquarters.
Recently, I decided to put a stop to it and find out how to jailbreak my Kindle. I was willing to either make it mine or lose it in the process.
Jailbreaking
A little bit of search gave me a very well maintained forum post on how to jailbreak the kindle. In fact that mobileread.com forum seems to be the focal point on e-book reader devices jailbreaking and customizations. It's wonderful how there are these bubbles on the internet filled with specific information which you never find out until you search for it.
I started following along the guide, which is actually very simple: the jailbreak itself consists of plugging the Kindle through the USB to the computer, dropping a file there and getting it to run. At this point however, I stumbled upon a big problem which I had already suspected: the USB in the Kindle no longer worked.
The micro USB port on the Kindle should serve both for power delivery to recharge the device as well as data transmission, to be able to mount it on the computer as a data storage and send files. But somehow the data transmission no longer worked, so I couldn't send files over to the Kindle. At least power still worked, so I could still recharge it.
With the main data channel to the Kindle borked I realized my alternatives were either to find out the issue with USB, which I thought would be a USB controller hardware issue, and require swapping the IC with a new one, or checking if the Kindle had a working UART interface I could use instead of the USB. The latter seemed way easier if it was possible.
Jailbreaking through the UART
Indeed it was possible to access the UART in the Kindle PW2 as this post shows. It also shows how to open the Kindle and gives some ideas on making the setup permanent.
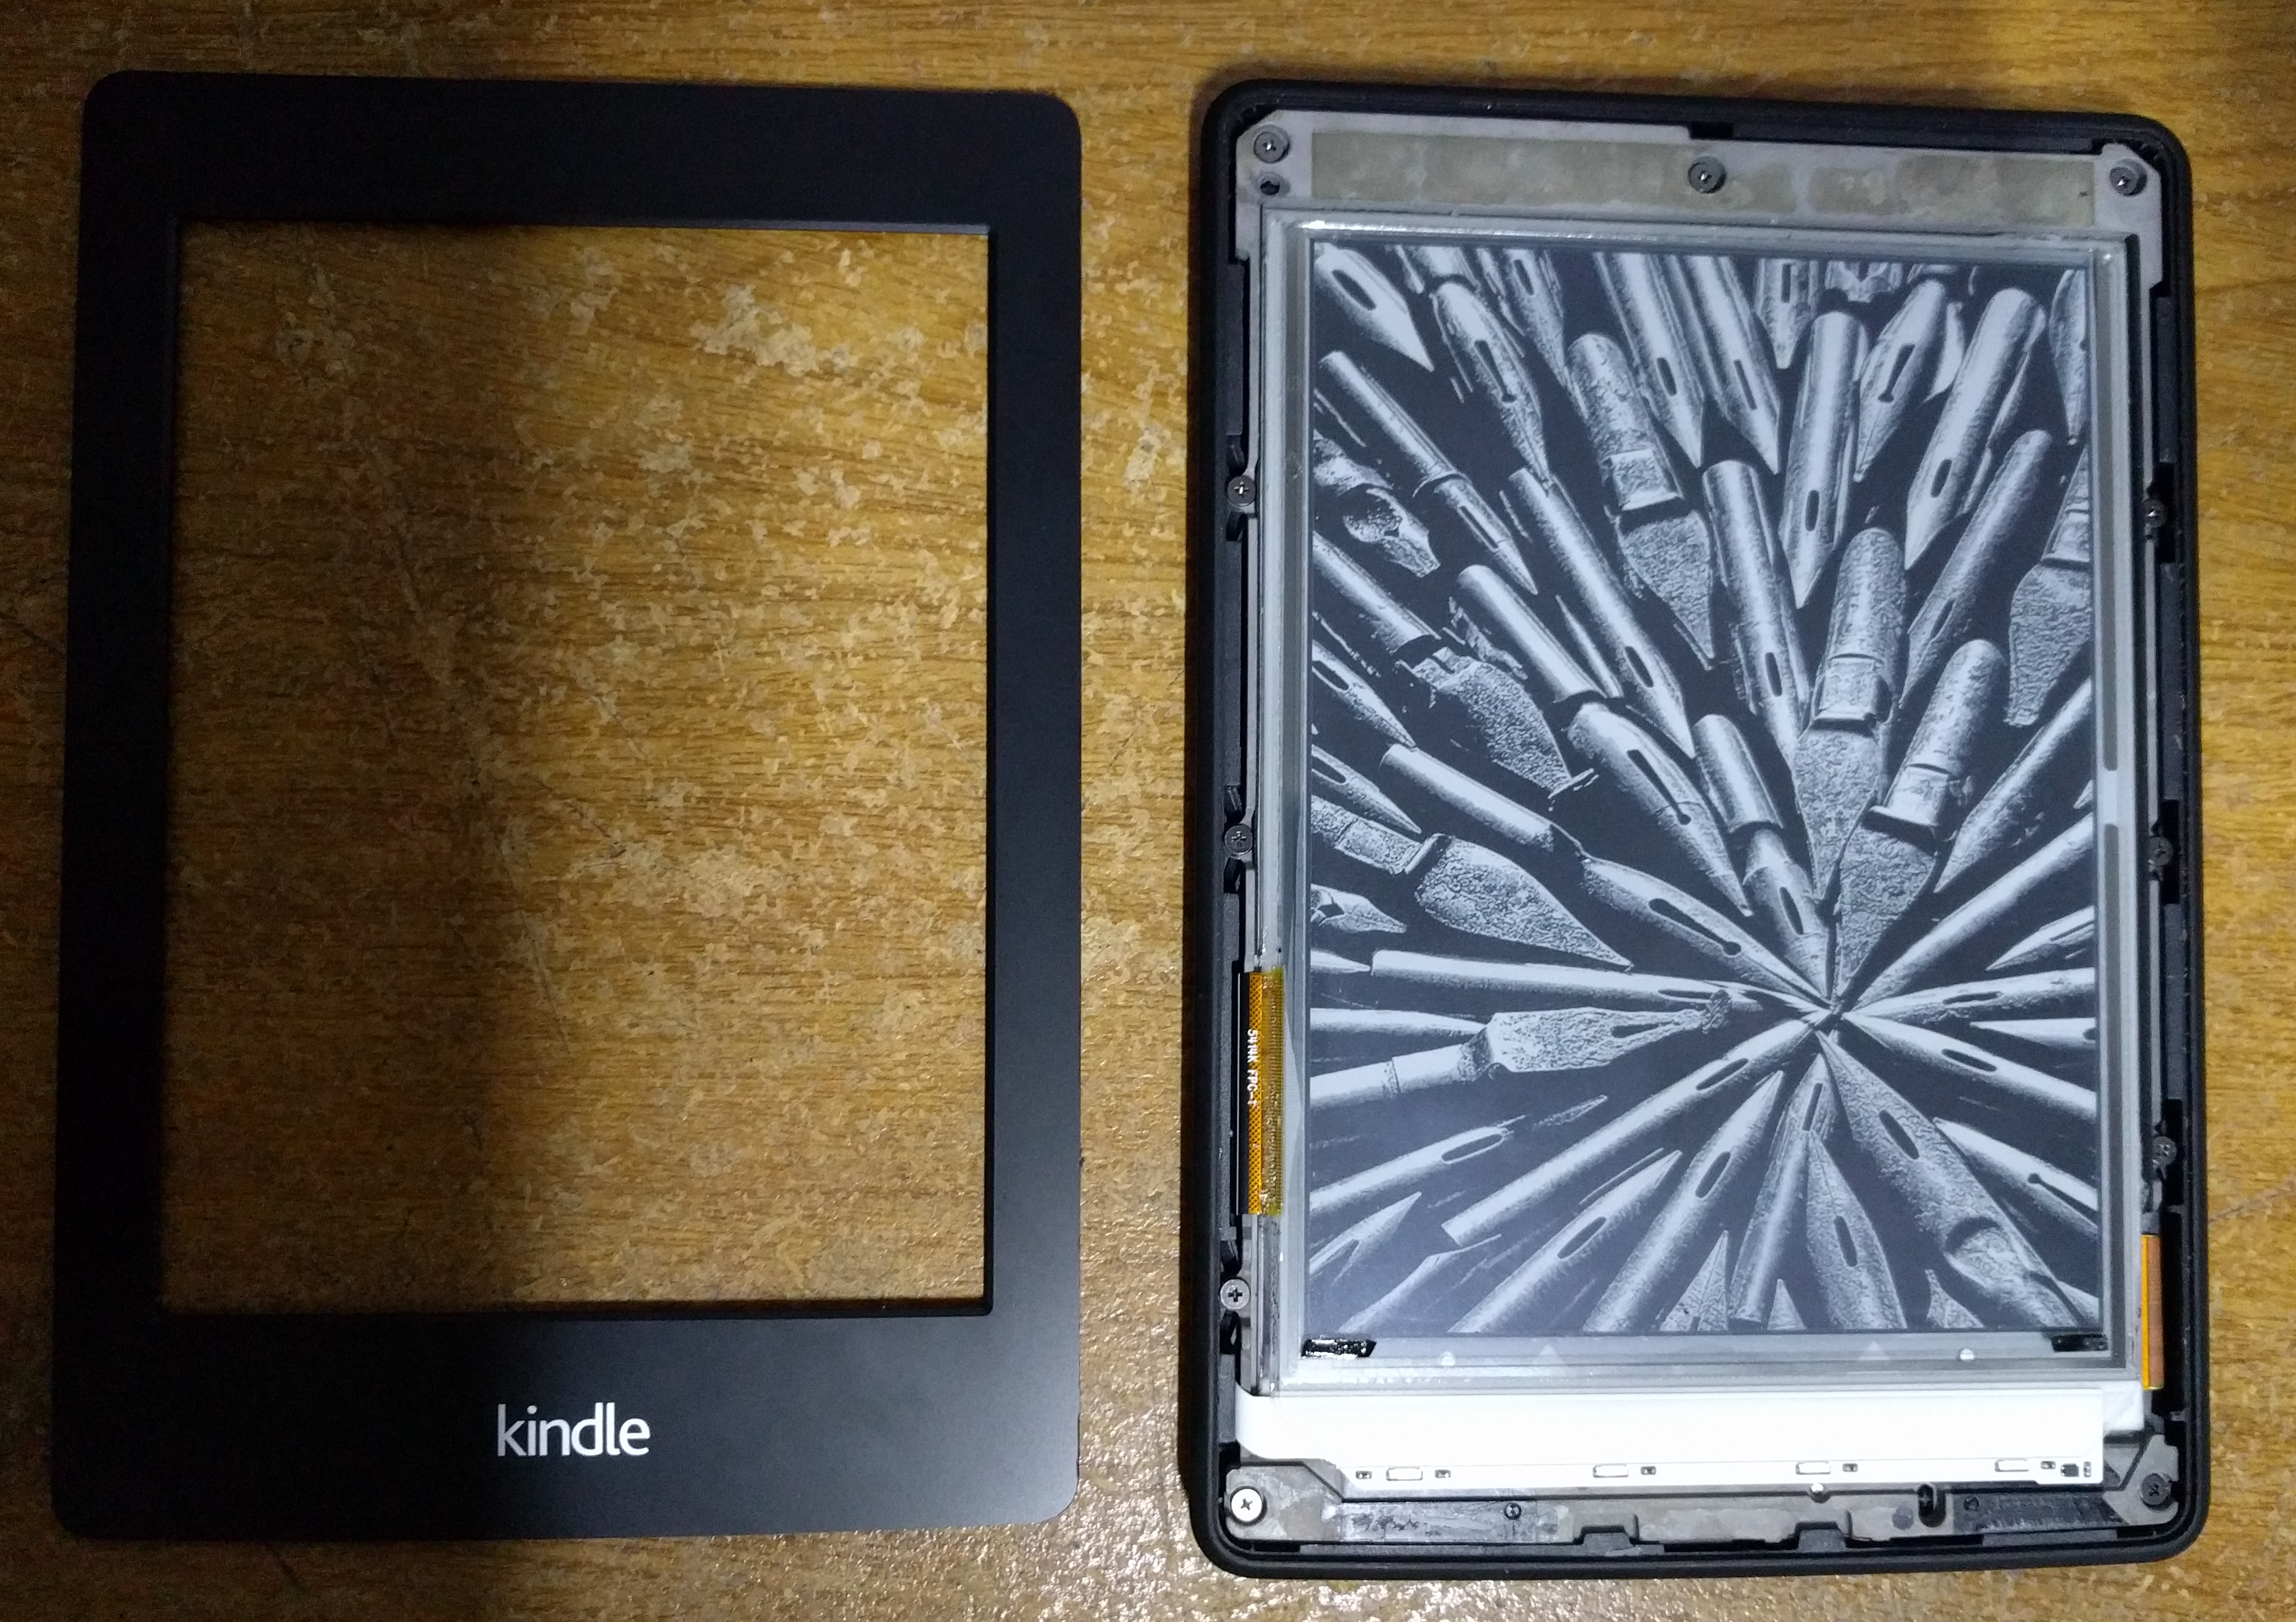
The only hard part in opening was the first step: getting the front cover to unglue from the rest. After stopping to play the guitar a few years ago, I never thought this was the way a guitar pick would come to use again 😝:

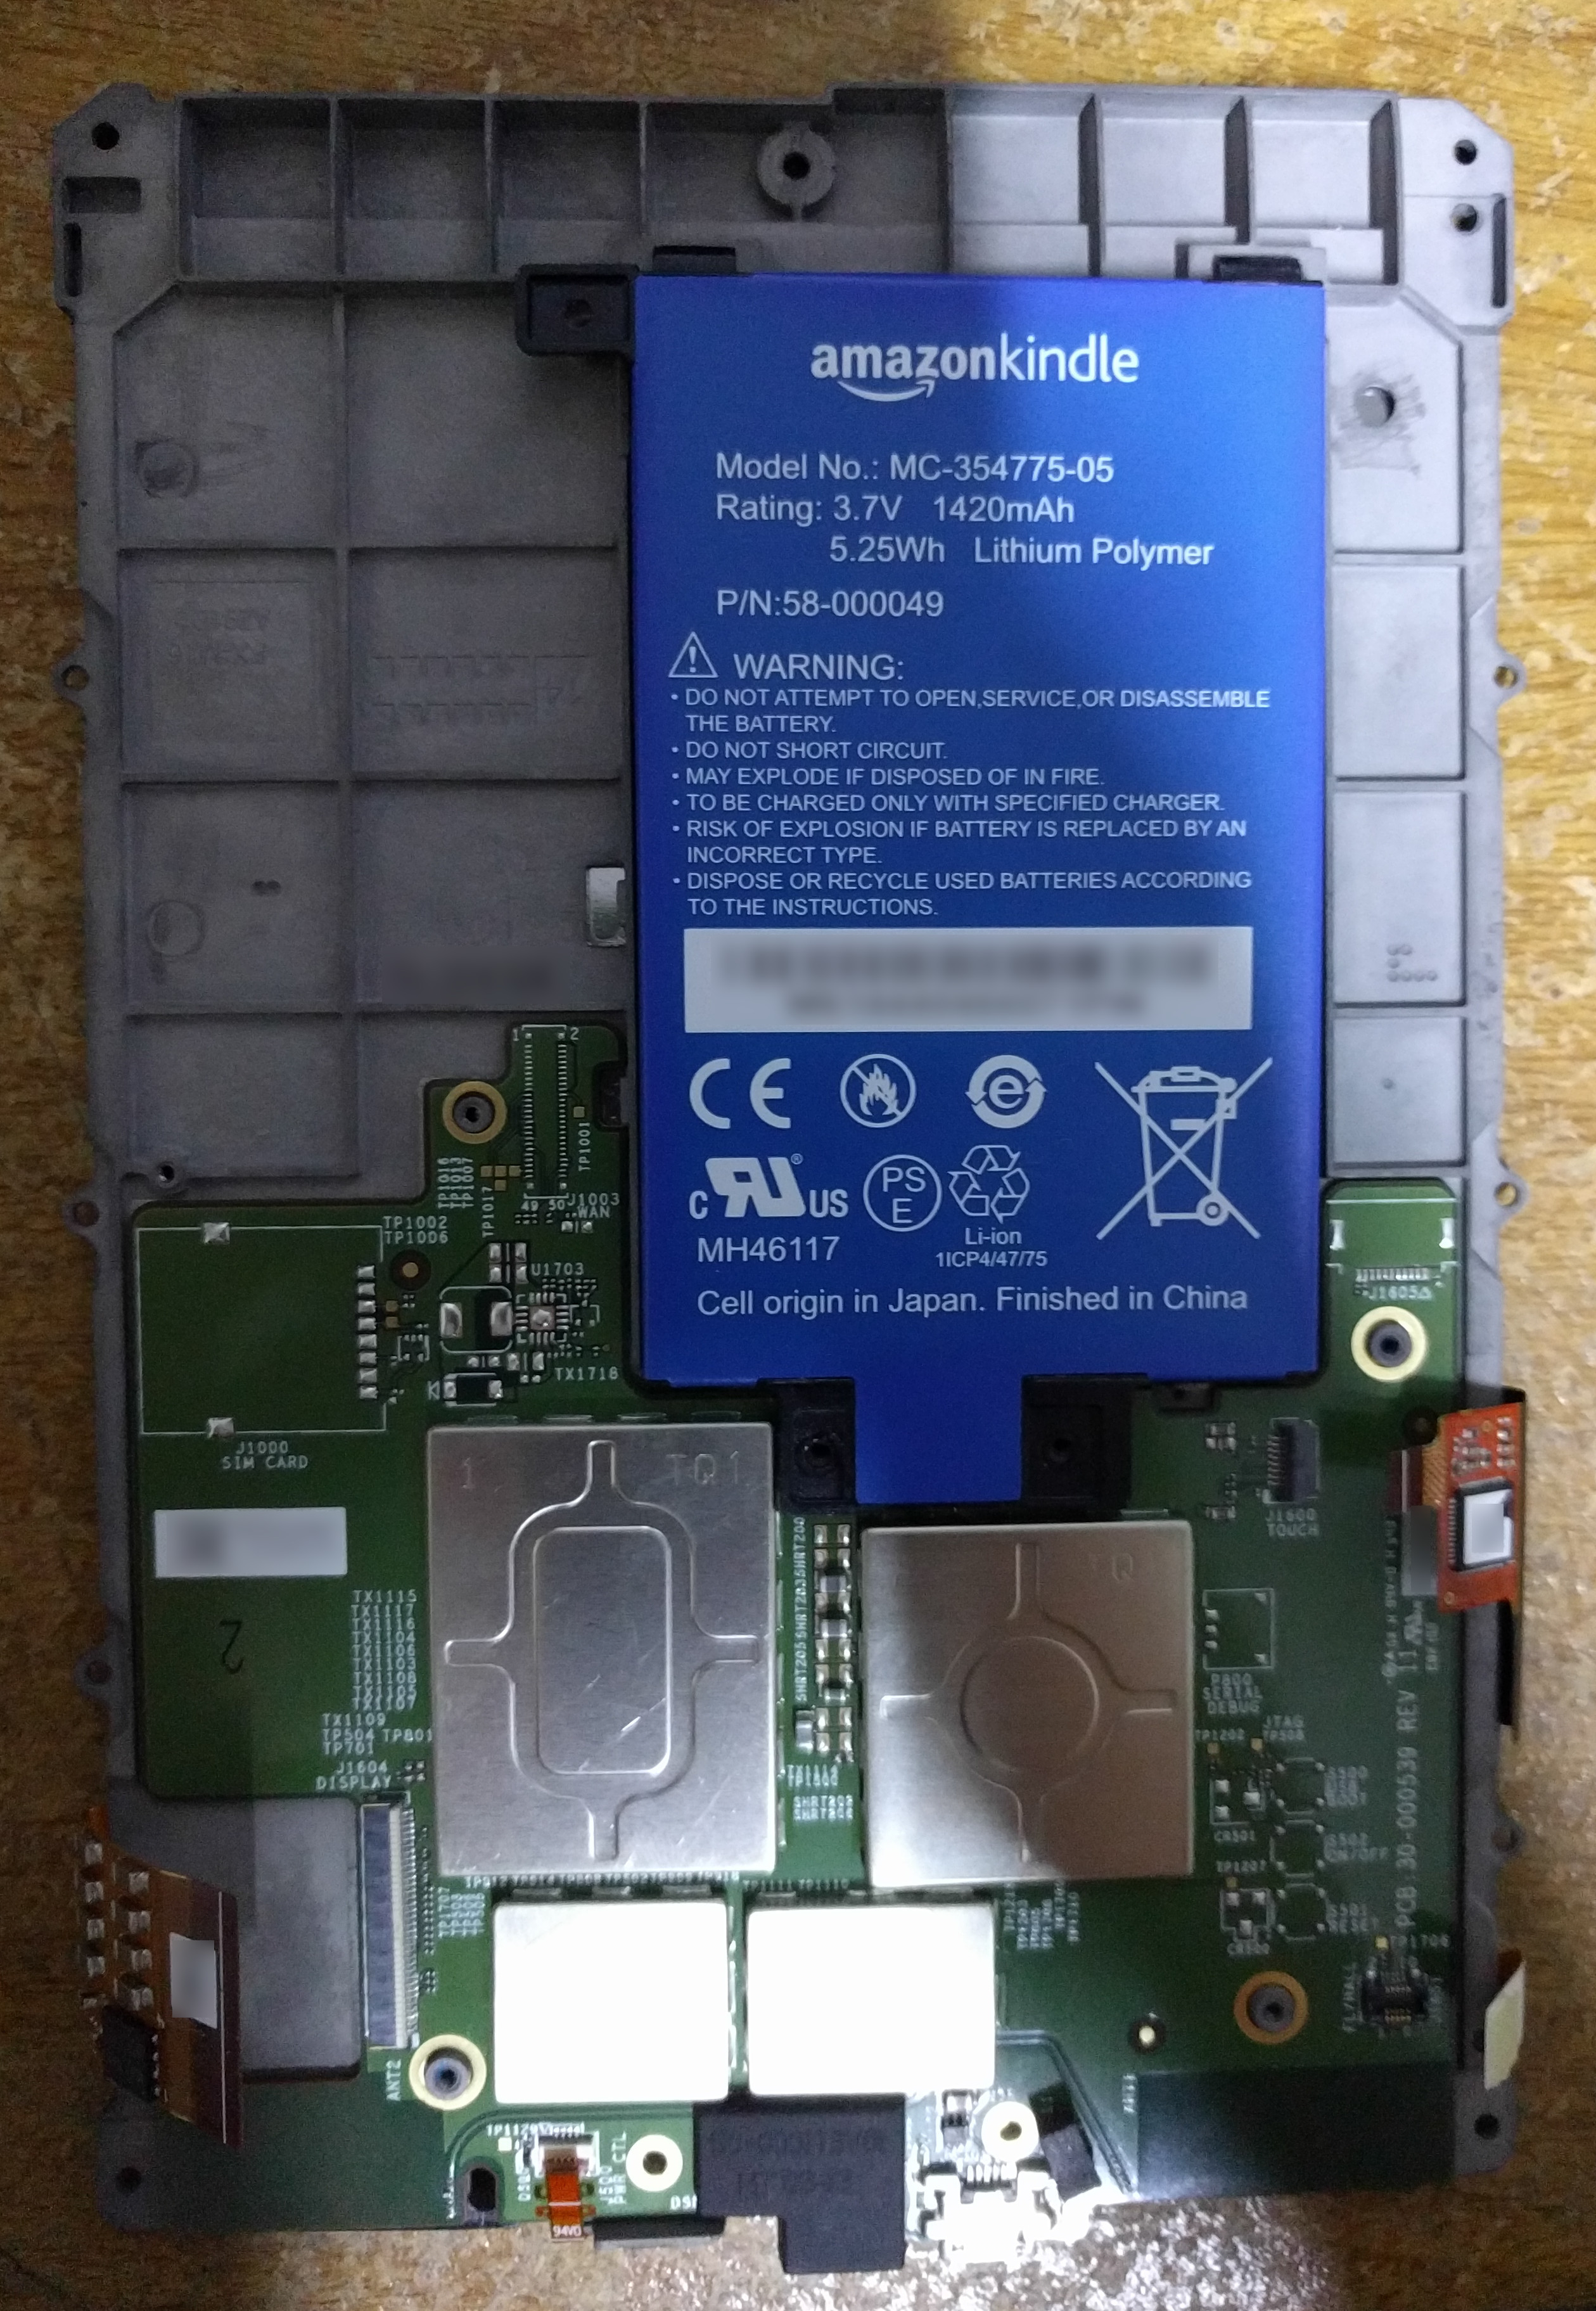
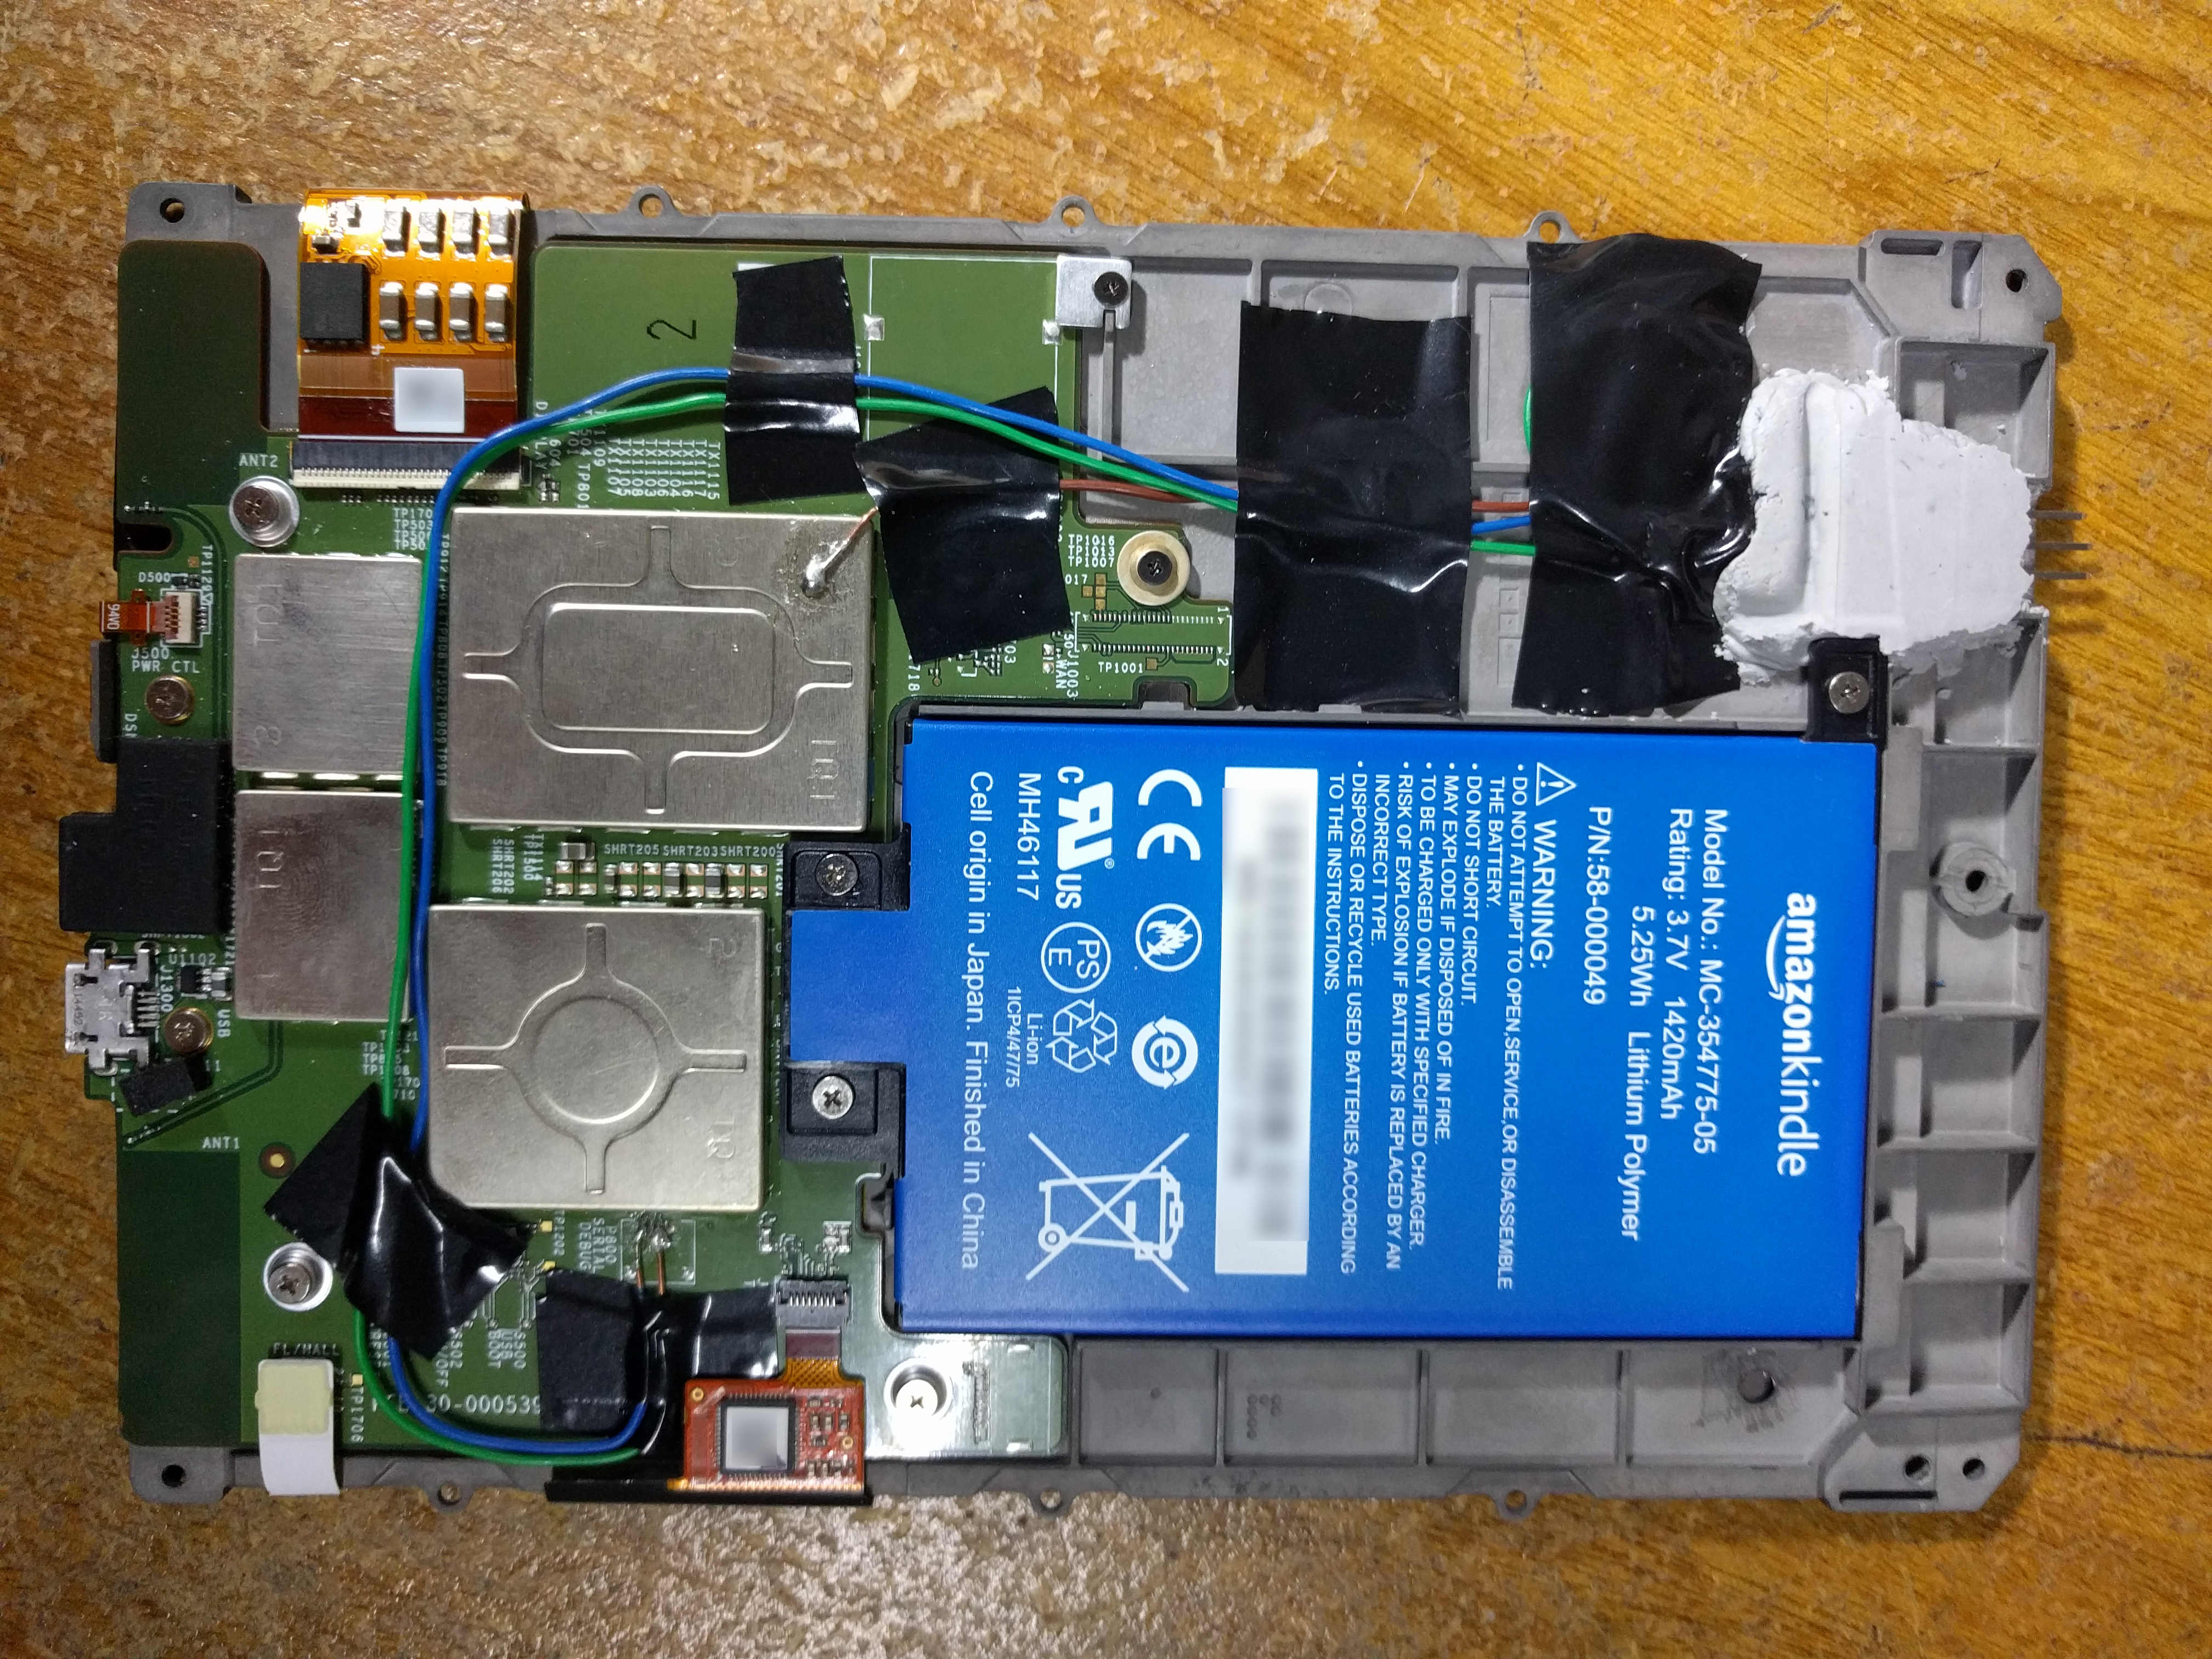
With the help of the pick I got the cover unglued and after unscrewing a few screws I got to the insides (the second photo shows the PCB screws also unscrewed and flat cables disconnected since I was looking around, but there's nothing of interest below the PCB):
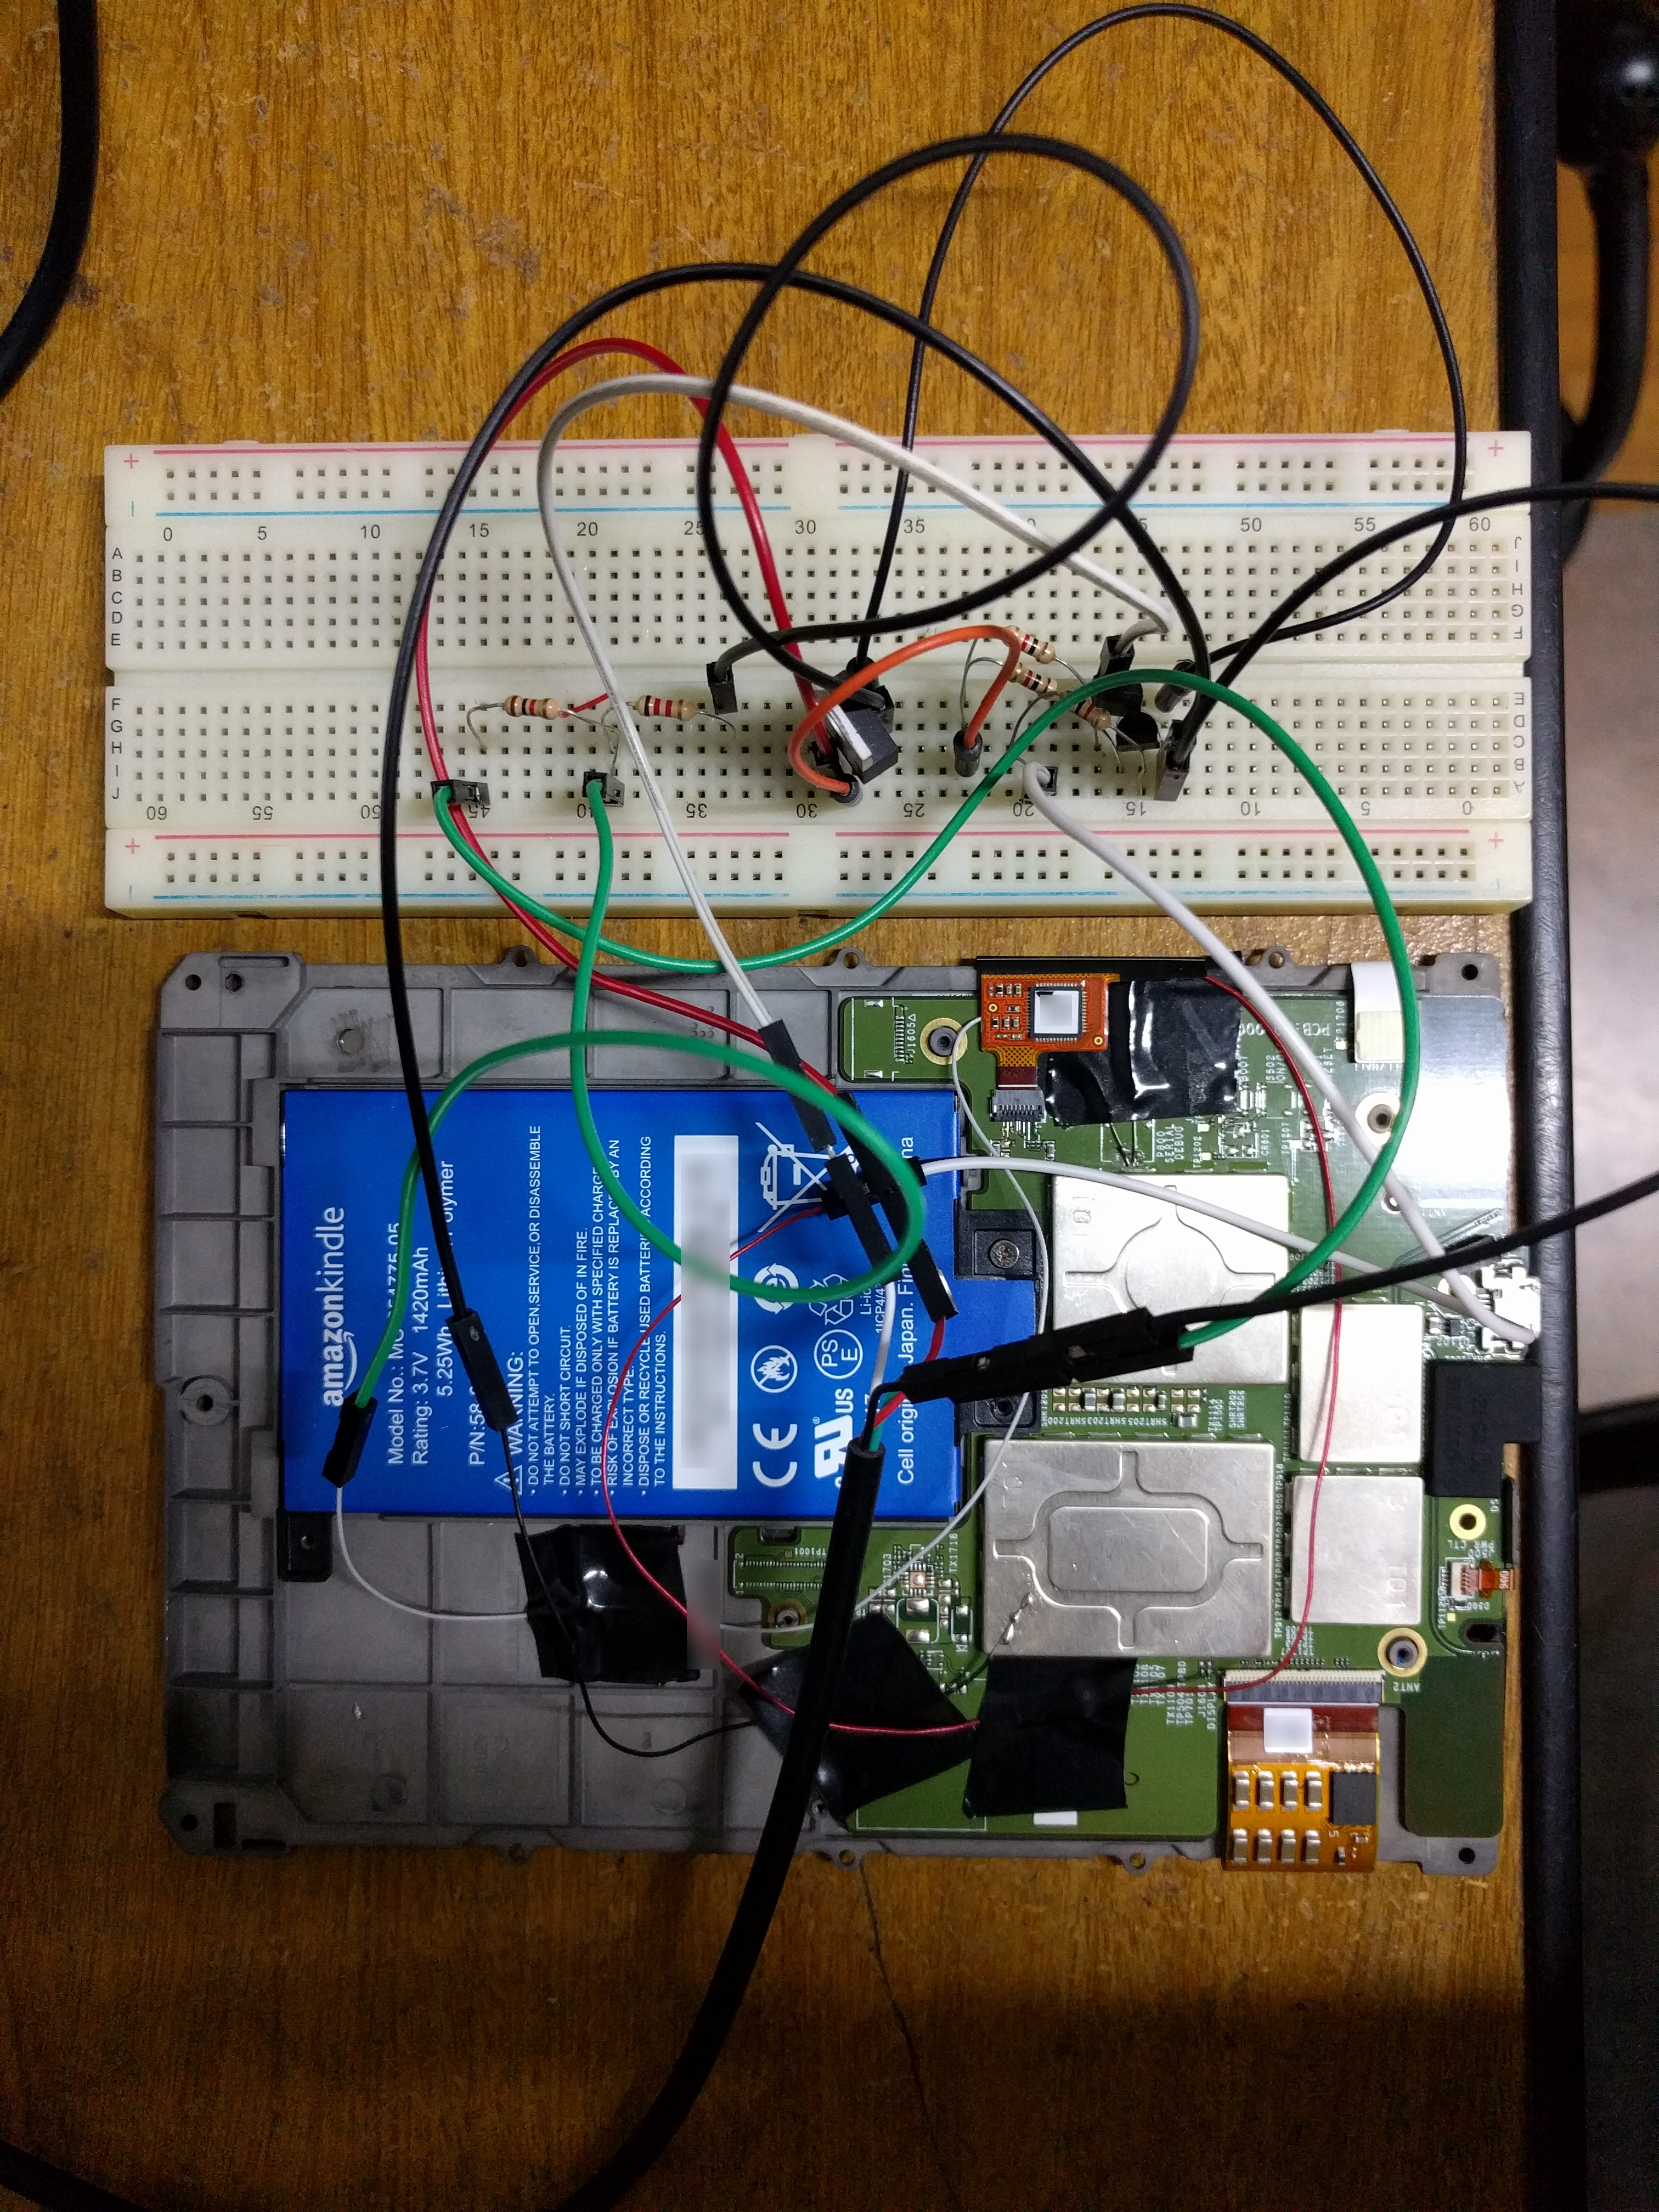
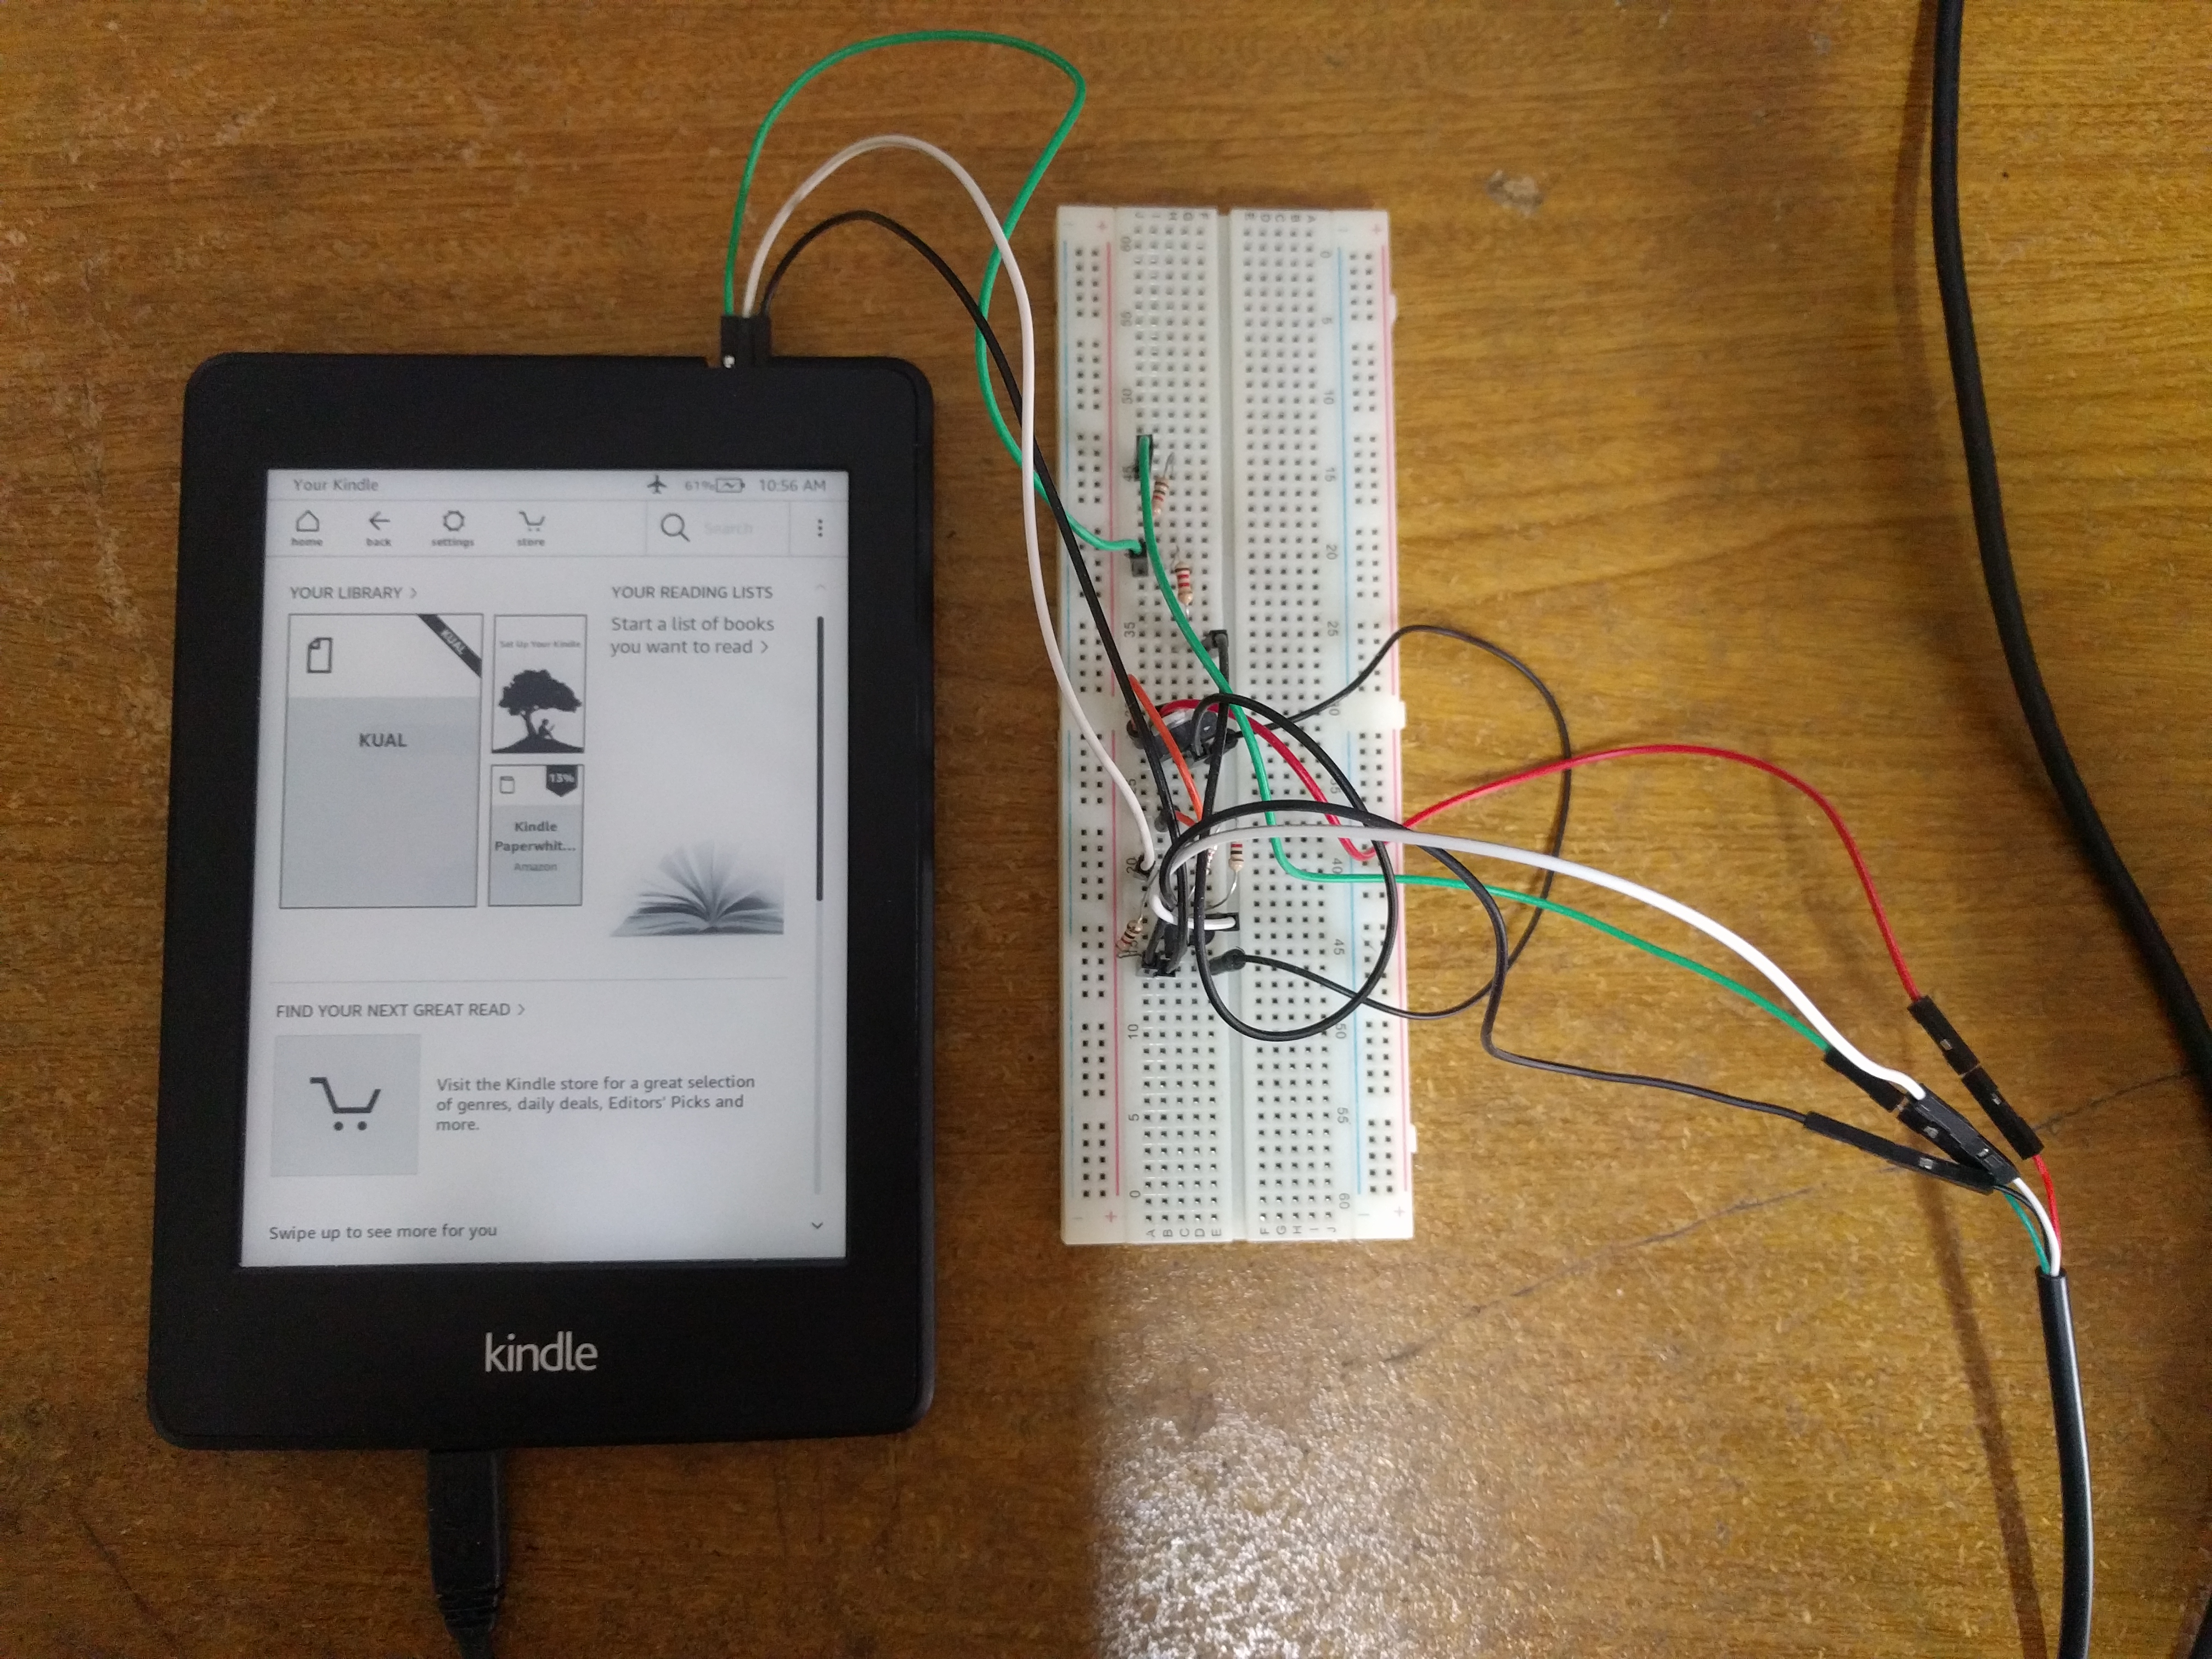
At this point I was ready to test if the UART really worked. One issue was that the Kindle's UART works at 1.8V while my UART cable is 3.3V. To workaround this I used a simple voltage divider to lower the voltage for the Kindle's RX, and two bipolar transistors and a voltage regulator to increase the voltage of the Kindle's TX (I have to admit that I searched the web for this circuit, but at least after seeing it I was able to verify how it worked and will remember it for future projects 🙂). This was the temporary setup:
With this I ran picocom on the serial port and rebooted the Kindle. This is
what I got (trimmed down to not be too long):
Terminal ready
Battery voltage: 4072 mV

Hit any key to stop autoboot:  0
## Booting kernel from Legacy Image at 80800000 ...
   Image Name:   Linux-3.0.35-lab126
   Image Type:   ARM Linux Kernel Image (uncompressed)
   Data Size:    3054728 Bytes =  2.9 MB
   Load Address: 80008000
   Entry Point:  80008000
   Verifying Checksum ... OK
   Loading Kernel Image ... OK
OK

Starting kernel ...

[    0.097278] boot: C def:bcut:batterycut=1
[    0.274436] LPDDR2 MfgId: 0x1 [Samsung]

[...]

3.0.35-lab126 #2 PREEMPT Wed Sep 25 00:44:40 UTC 2019 armv7l
Press [ENTER] for recovery menu...       0 /BOOTING DEFAULT.
IP-Config: no devices to configure
kinit: Mounted root (ext3 filesystem) readonly.

[...]

info milestone:7.91:sy99:sy99
info system:done:time=7940:time=7940
crond[849]: crond (busybox 1.28.3) started, log level 8

init.exe: sshd main process (848) terminated with status 127
init.exe: sshd ain process endeinit.exe: recevnt pre-start proc


Welcome to Kindle!

kindle login: info milestone:8.24:sc01:sc01
info system_fs_loopbacks:mountingfs:Mounting compressed directories filesystem images:Mounting compressed directories filesystem images
info milestone:8.27:sc02:sc02
info milestone:8.31:/usr/share/X11/xkb:/usr/share/X11/xkb

[...]

info clickstreamHeartbeatMetricsFramework:Skipping metrics recording, as it is the same day::
info monitor:writing_file:file=/var/run/upstart/stored.restarts:file=/var/run/upstart/stored.restarts
Retrieved 383 keys for system/daemon/pmond/
Well, hello Linux 3.0, how long have you been there? 🙂
And my input worked too so I was ready to keep going with the jailbreak. I kept following the jailbreak through serial post until I got root, but to my surprise after that it shows how to transfer the jailbreak file by using the USB storage, which I don't have working. But since I just got the serial working, I didn't see why I couldn't use it to transfer a file, even though I had never done that.
Sure enough I found a way, and it's by using the xmodem, ymodem or zmodem
file transfer protocols. All of them are provided under the lrzsz package on
Arch Linux. Since the Kindle only had the rx binary, which is the receiver
for xmodem, I needed to use sx on my computer, to send using the xmodem
protocol as well.
The procedure to send a file through the serial using xmodem is to:
- run
picocompassing--send-cmd 'sx'. - in the serial (the Kindle's shell in my case), type
rx <filename>wherefilenameis the name that will be given to the received file in the destination filesystem. - press
Ctrl+afollowed byCtrl+s. This will instruct picocom to send a file, which will usesxfor the transfer since we passed that as the--send-cmdwhen running picocom. - in the prompt that appears, write the name of the file that will be transferred from the host machine, relative to the directory where picocom was run.
- wait for the transfer to complete (may take a while).
Now, there's an important detail about transferring files like this that took me a while to find out, and may only be applicable to my specific setup, I'm not sure, but it is that the transfer will only work if the Kindle is charging. For some reason, it seems that when the Kindle isn't charging, the TX/RX signals aren't stable enough to the point that the checksums sent in-between the xmodem transfer aren't valid and the transfer fails. Using the shell without power connected works well enough though.
But with the charger connected and following the above steps, I was always able to transfer the files successfully.
It does take a while to transfer this way though. The transfer speed is about 10 KB/s, so the jailbreak file (~160 KB) took 15 seconds to transfer, while larger files like the KOReader package (~37 MB), which I mention below, took about one hour. Through USB the former would have been instantaneous, while the latter might have taken a couple seconds. That made me realize how far we've come in transfer speeds, so it has its charm 😝.
With this setup I was able to transfer the file and follow the remaining of the guide to successfully jailbreak my Kindle! I also installed KUAL and MRInstaller as directed in the guides so that packages are easy to install and can be accessed through a GUI in the Kindle.
Making it mine
Now that I had a jailbroken Kindle it was time to finally make it mine. The need for the .mobi format is annoying, I'd prefer to use a more standard format like epub. Fortunately that's possible on a jailbroken Kindle by using the KOReader application.
KOReader
KOReader is an e-book reader application that can be run on jailbroken Kindles (as well as other devices) and supports multiple e-book formats like epub and pdf, which is exactly what I wanted.
It's honestly great software: It is very actively maintained and improved, and has all the features I was used to in the default Kindle reader like bookmarking, dictionary search, text search and navigation through the book chapters, plus a lot more and configurations inside its various menus.
My favorite features, which are improvements over the default Kindle reader, are the progress bar at the bottom of the screen showing where you are through the book, and the fact that when the device is locked, the cover of the book is shown in the screen! 😃 This made me super happy to see. No more ads or random pictures from Amazon, just the cover of the book I'm reading. Actually, I originally installed the ScreenSavers Hack to be able to set a custom screensaver right after I jailbreaked the Kindle, but after I noticed that KOReader had this feature built-in I removed that package.
My only issue with KOReader is that sometimes it gets really laggy, so I need to restart it (which takes just a couple seconds) and it gets back to normal speed. But I should probably update it since they release a new update every month and it's already been four months since I installed it, so the issue may already have been fixed. (Yes, everything described in this post happened around April)
UART header
In order to make the Kindle surveillance-proof I had to keep the WiFi always off (also to keep the jailbreak working). And since transferring through the USB doesn't work anymore, the UART would need to be my only interface with the Kindle. This means that I need to be able to transfer books to the Kindle through the UART with relative ease. I don't consider having to open it relative ease, so I needed to make a more definitive setup.
The idea was basically to make the wires connected to the PCB pads for the UART better fixed, open a hole in the Kindle's plastic cover on the side and expose some pins there so I could easily connect a UART cable to the Kindle without having to open it.
One issue I already mentioned is that my UART cable's operating voltage is different from the Kindle's, which is why I made the converter circuit on the breadboard. I initially thought of embedding the converter circuit inside the Kindle, but realized I didn't have parts small enough for it to fit there. So I ended up just accepting that I'd need to use a converter circuit externally.
The opening in the case to expose the serial pins was done by my father! 😃

The soldering of the wire in the pads on the PCB was a bit tricky due to the very small size of the pads. With a little help from tape to fix the wire while I soldered and by choosing the right wire (those used inside Ethernet cables, they're the right amount of flexible) I managed to do it.
I was still worried about accidentally hitting the wire and disconnecting it, or even worse, irreversibly damaging the pad, so I ended up taping the wires every so often to the board, like checkpoints, and it worked wonderfully. I'll certainly keep using this technique in the future.
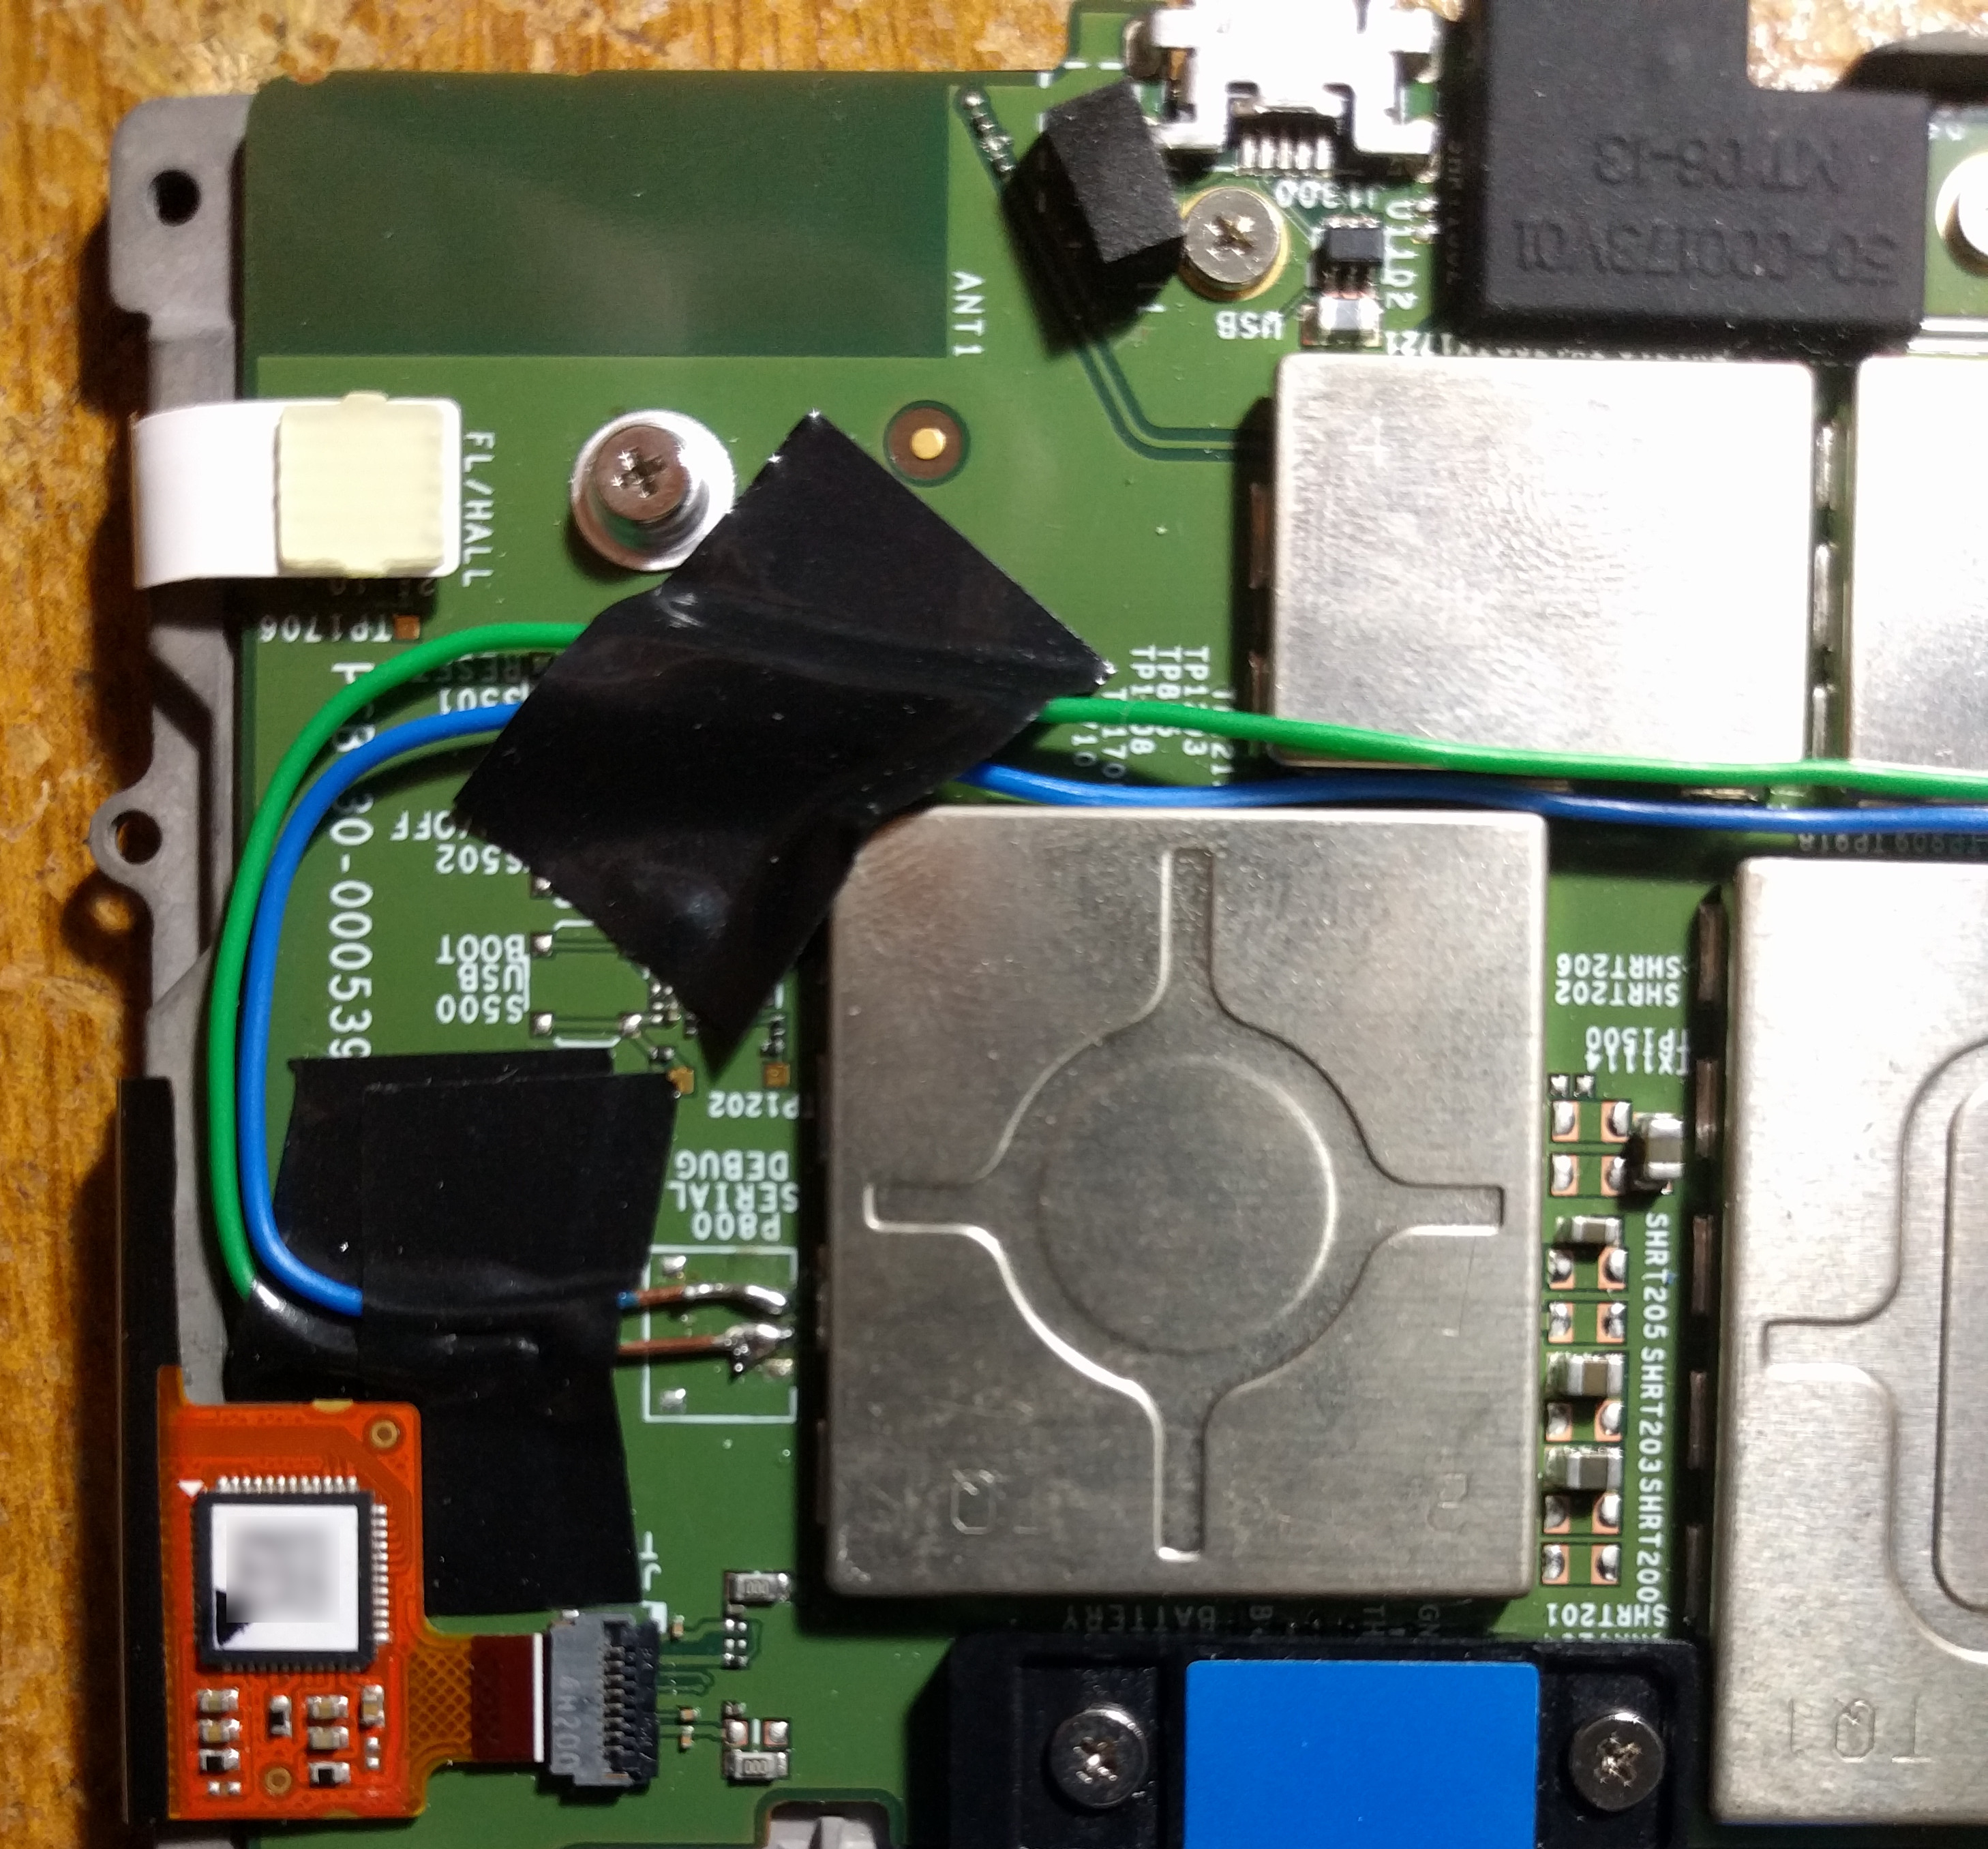
I left some extra length in the wire just in case it is needed in the future.
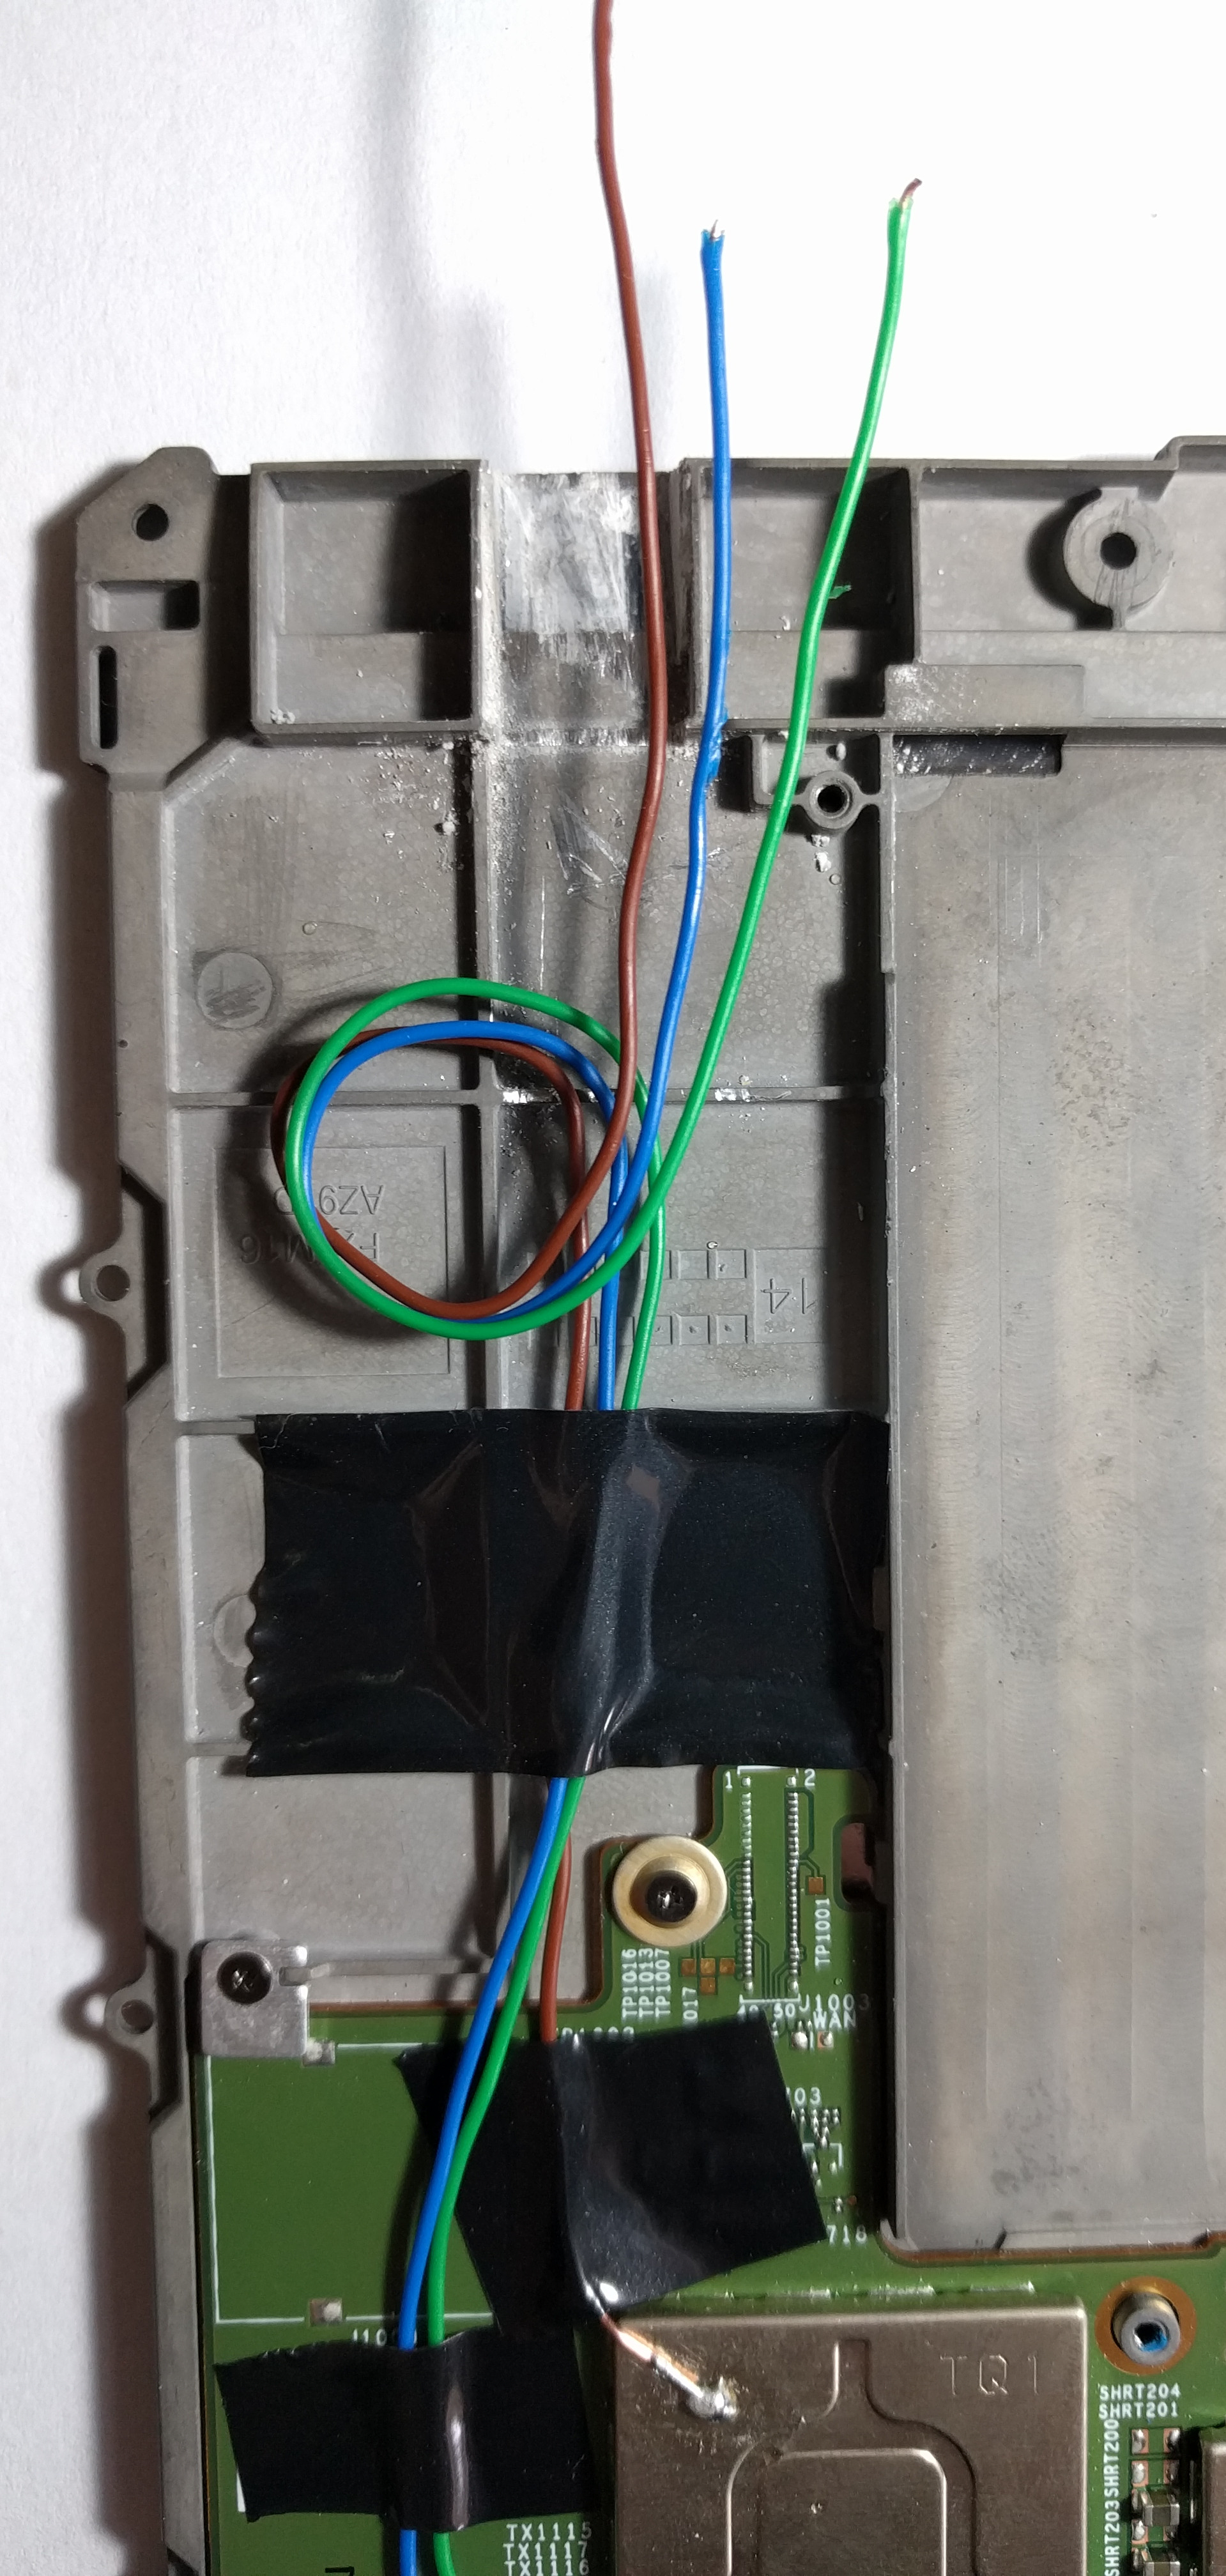
Getting the wire well connected to the headers was tricky as well. I twisted each wire around each pin, but not very tightly so the wire didn't break (this happened a few times), and added some solder. After that I added electrical tape around each pin so the wires around each pin didn't touch each other. Finally I added some more tape around all of the pins to isolate them from the gray body of the Kindle, since that's a conductive material.
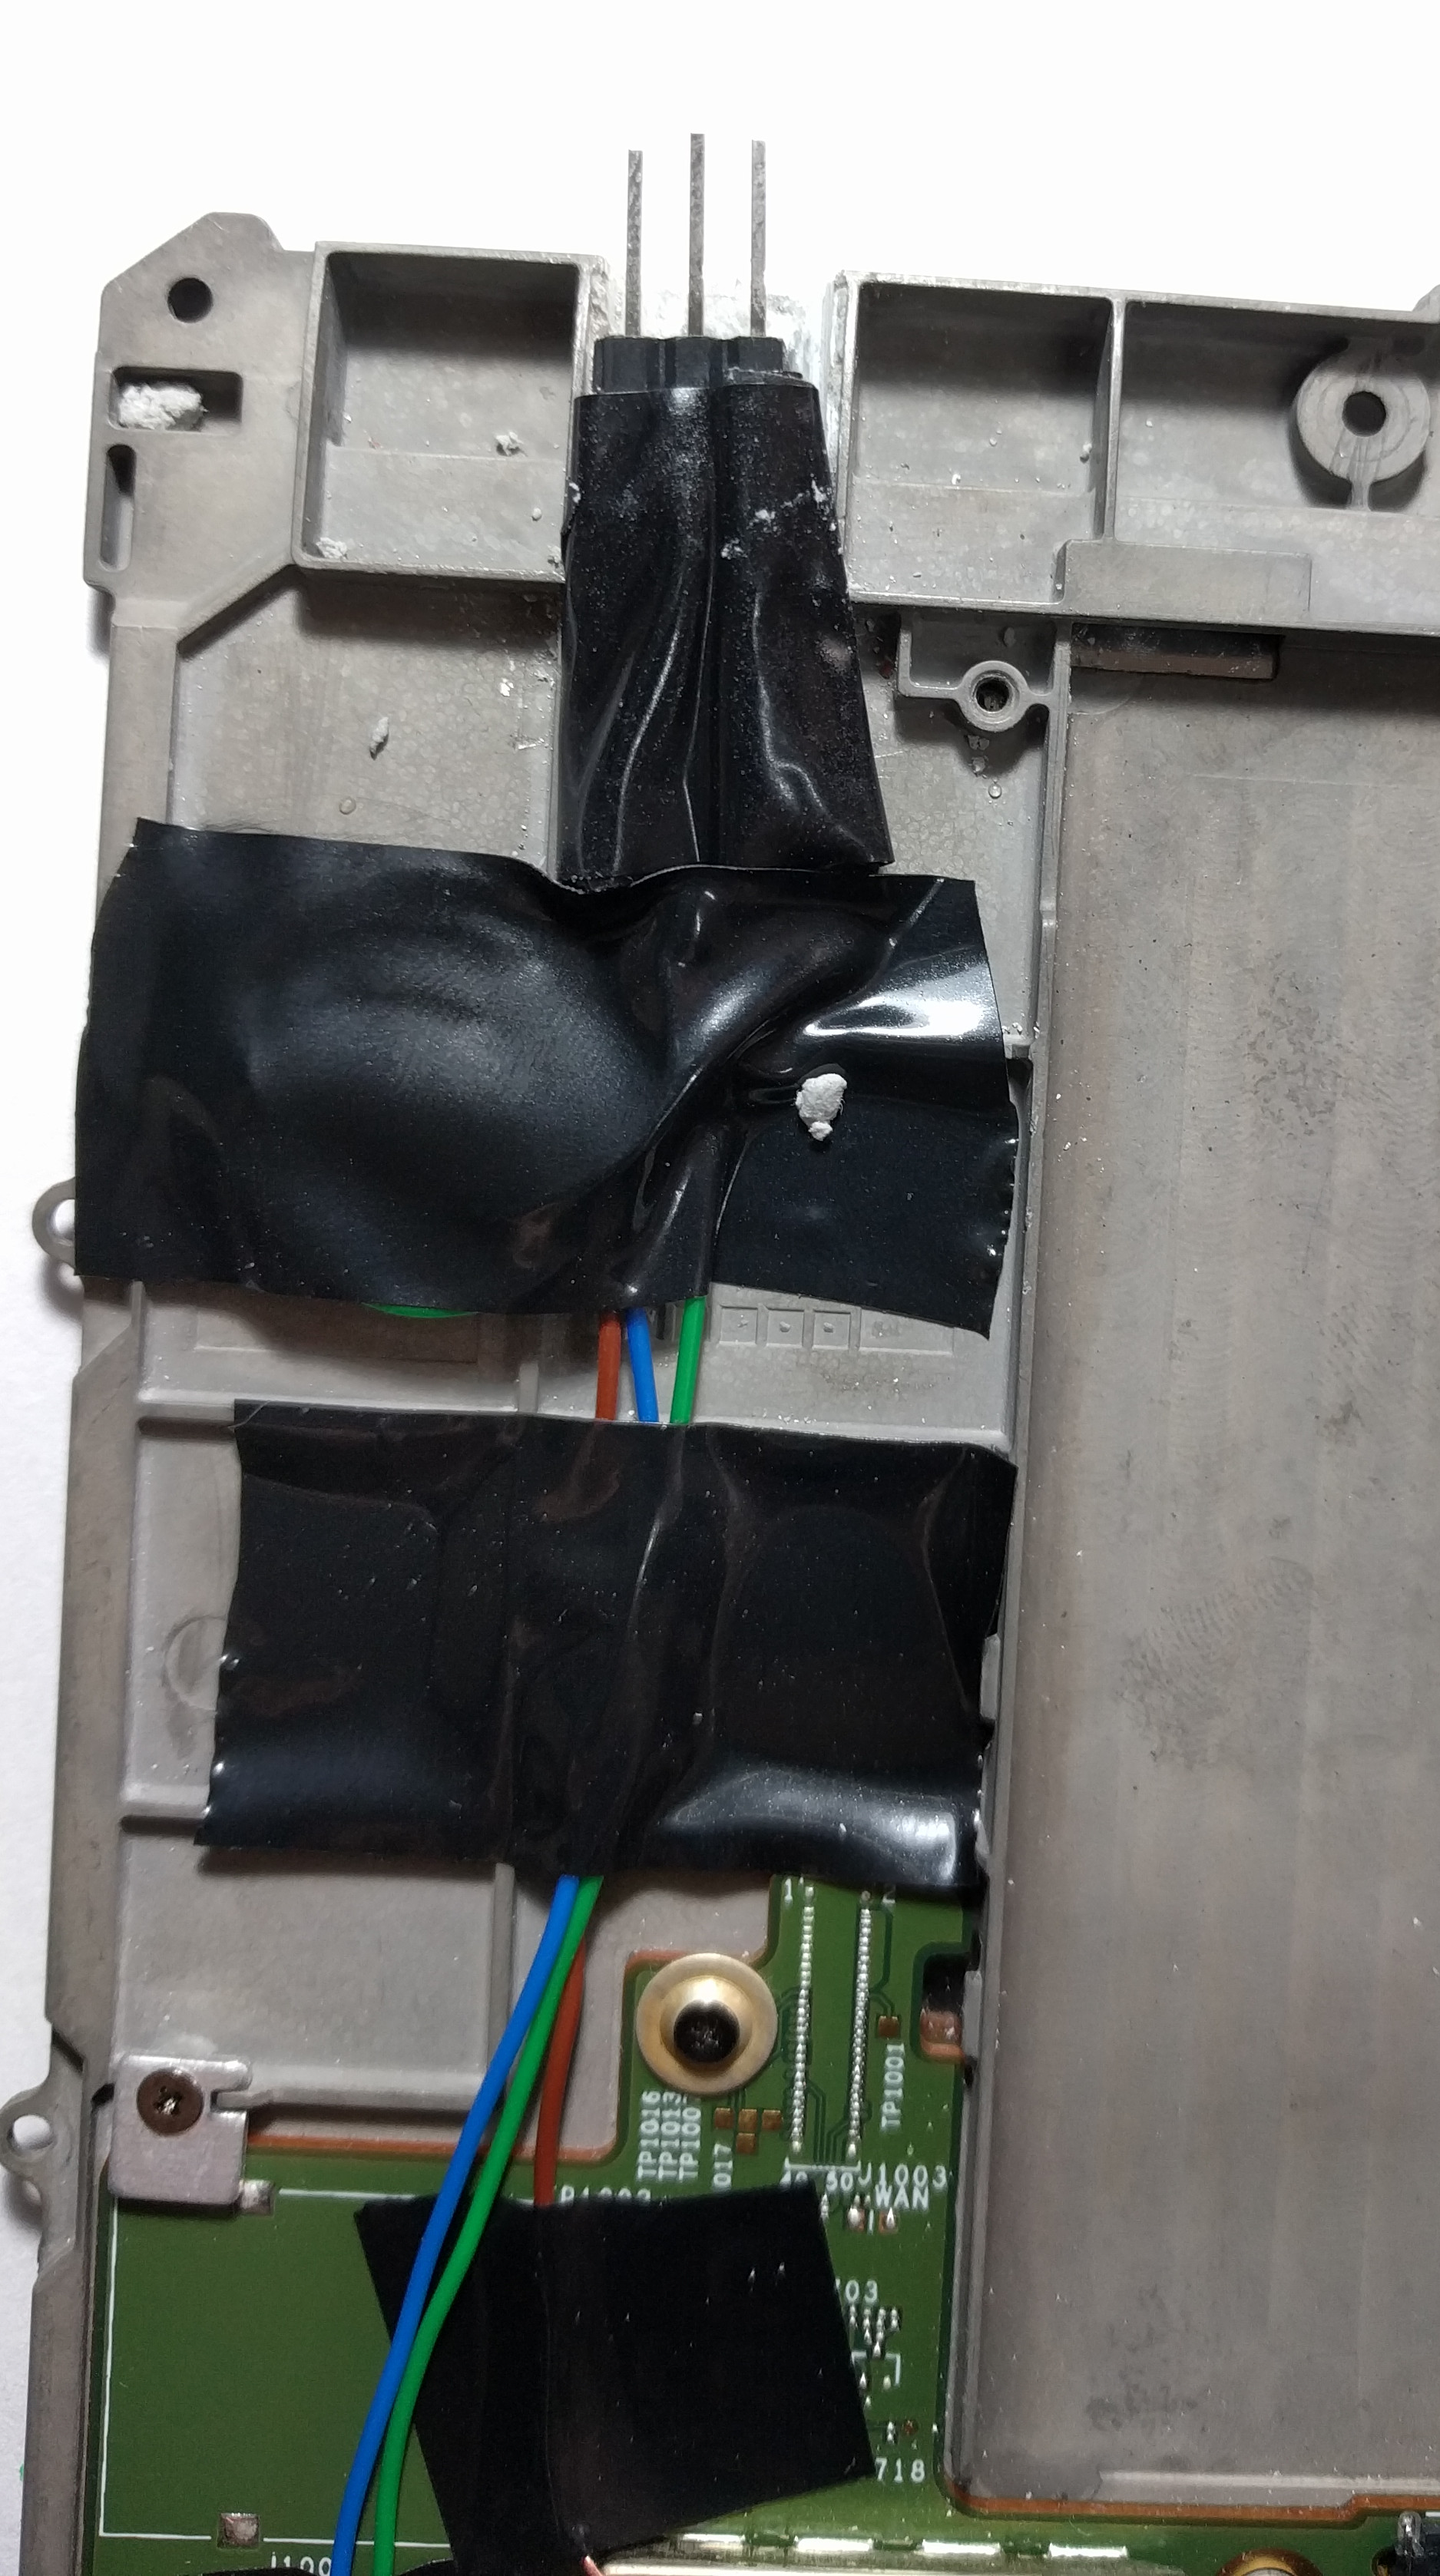
After getting the pins reasonably centered in the slot, I added some durepoxi (a solid epoxy common in Brazil) and molded it all around the pins, above and below, to get them fixed to the Kindle's body.
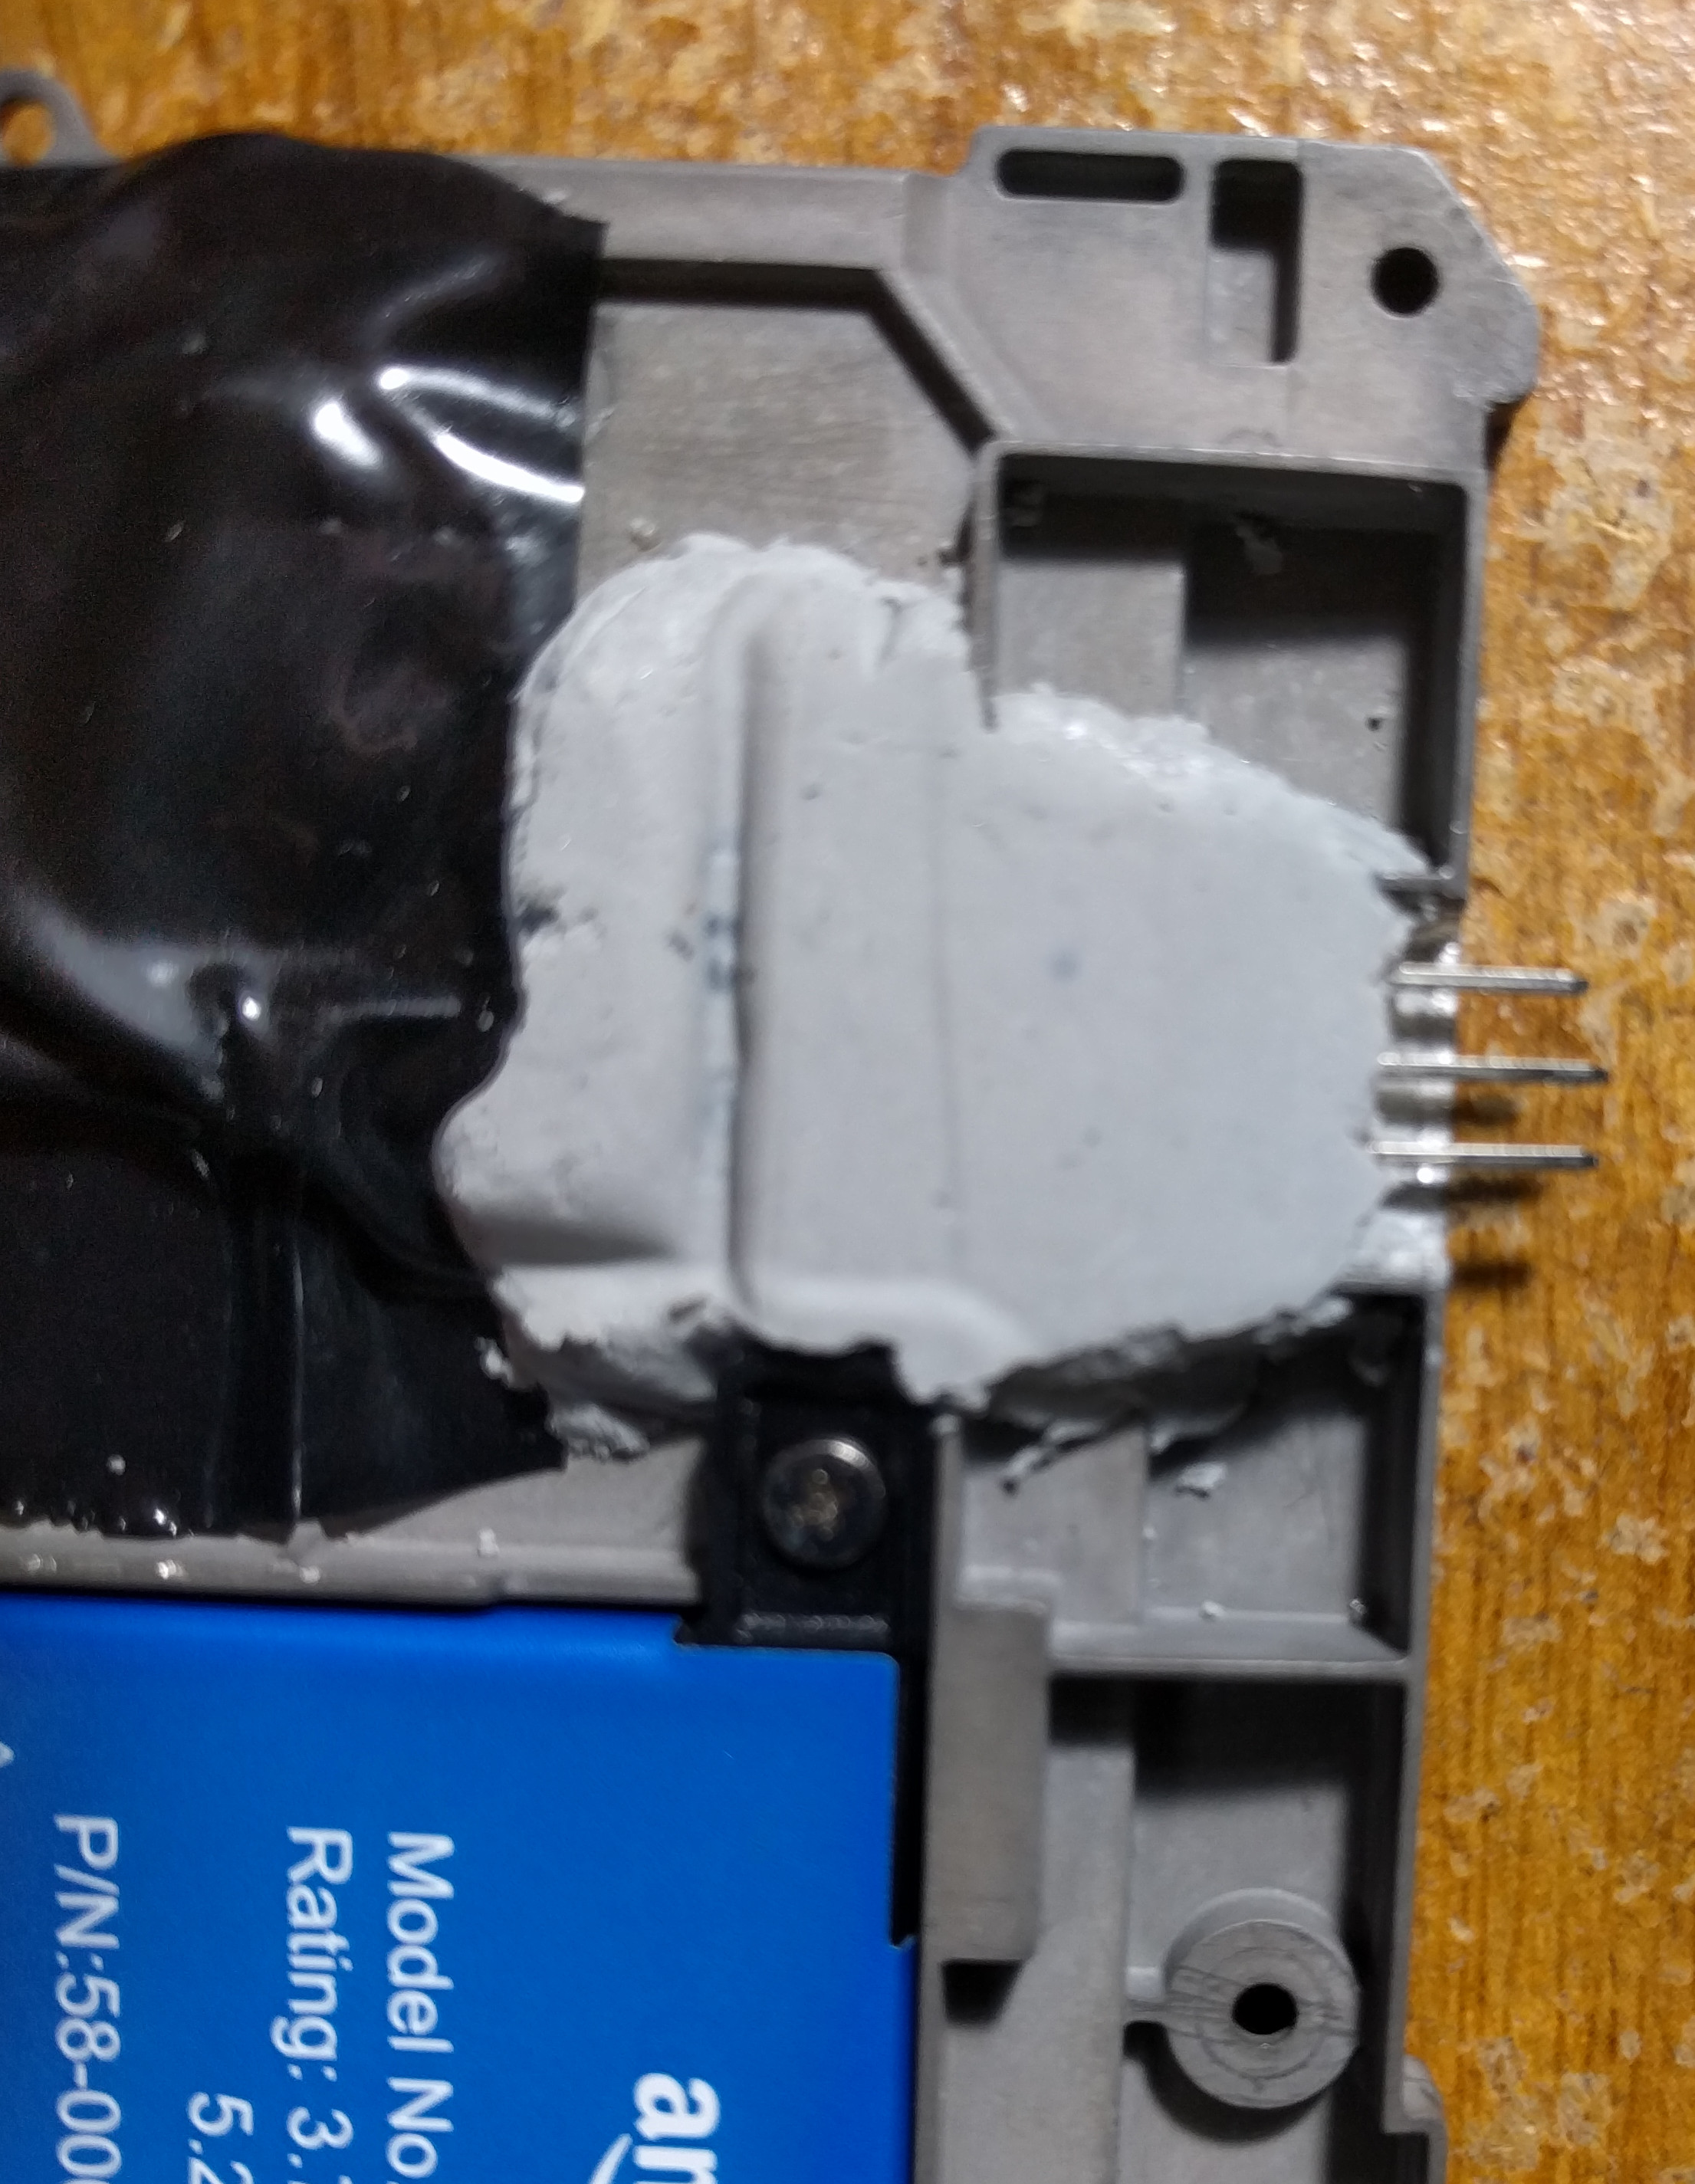
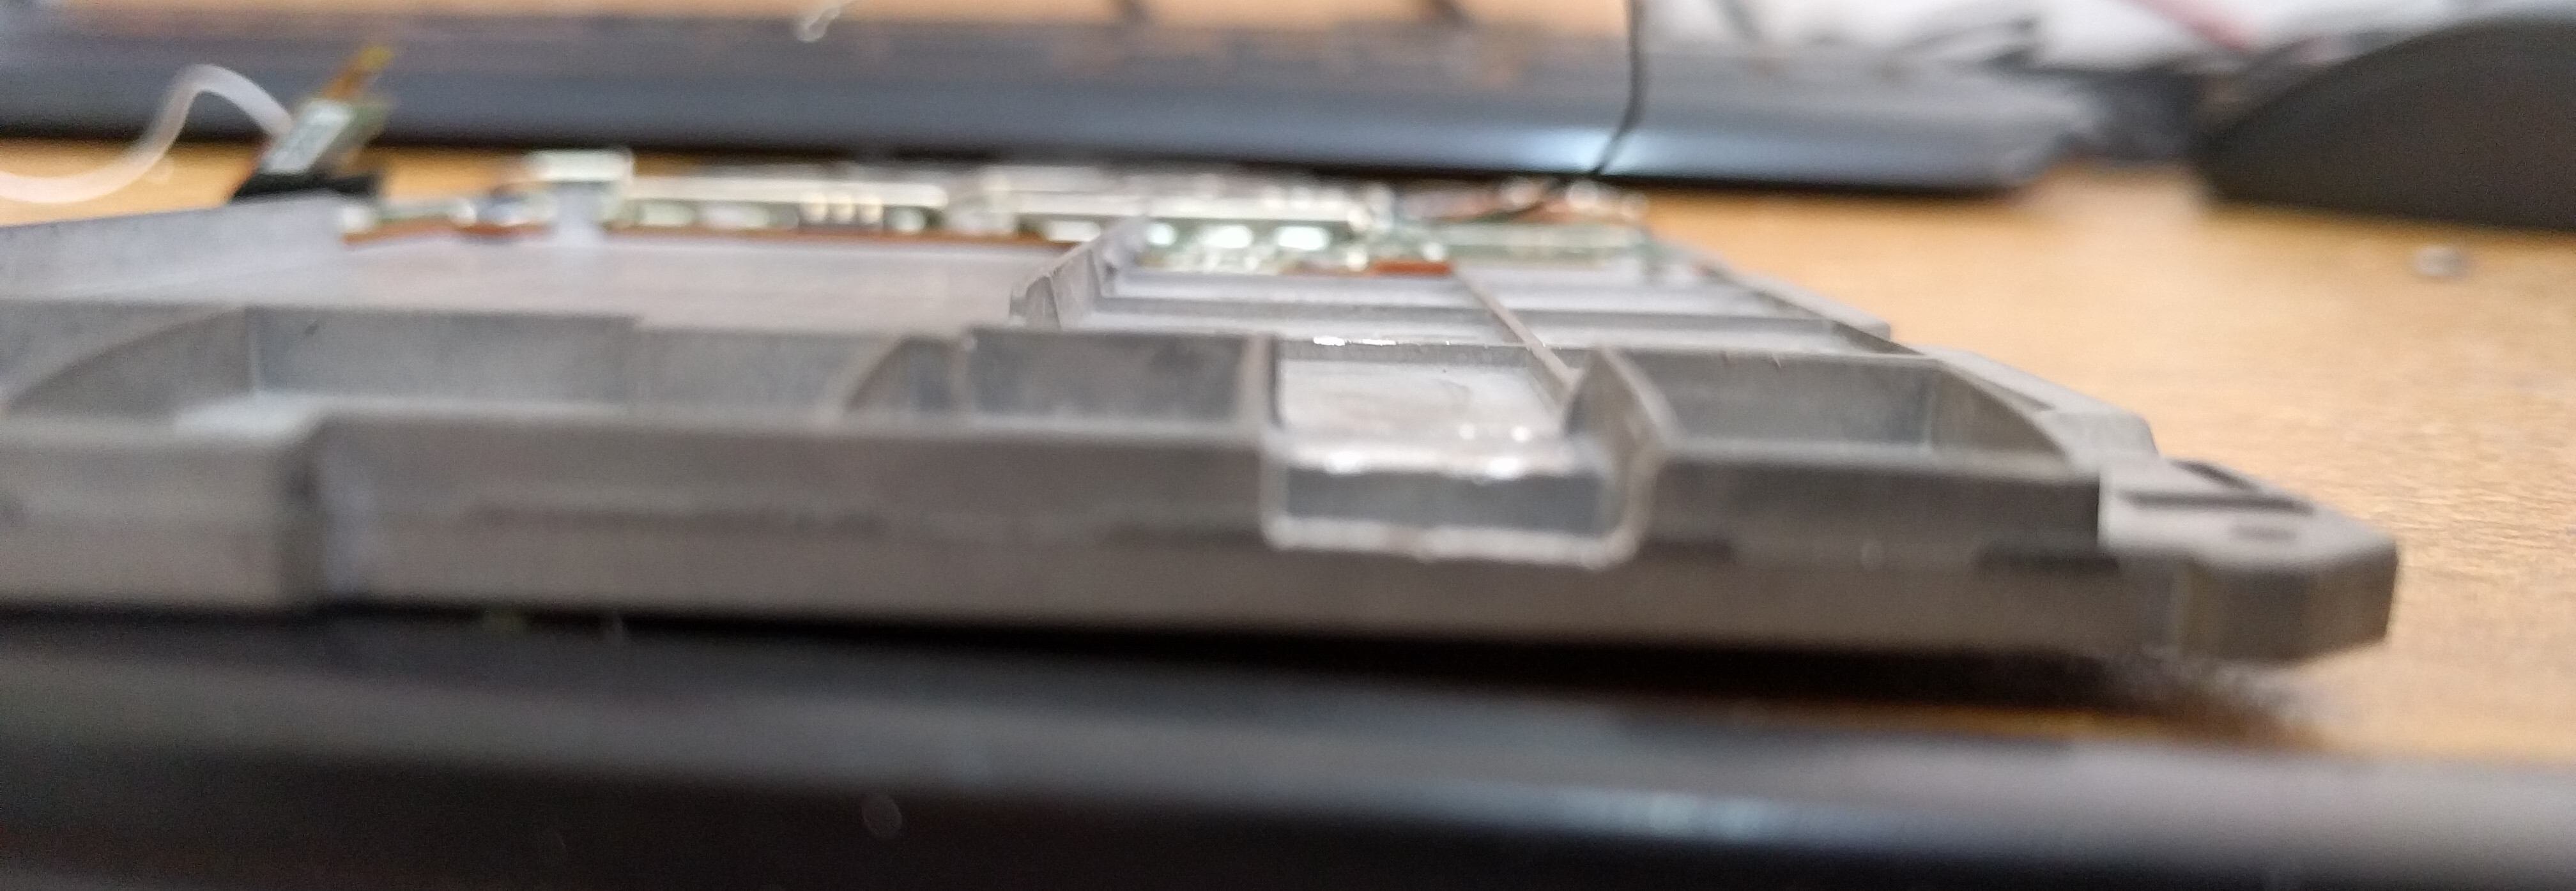
After letting it dry overnight, the surgery was done:
Oh, and all of this took me two tries. The first time I got to the end but some pins were shorted through the gray body of the Kindle. Thankfully the epoxy wasn't completely rigid so I could remove it with some perseverance and try again.
Result
So now I have a Kindle with the UART pins exposed, this is what it looks like:

Now if I want to read a new book, I connect the charger and the converter board to it (I'm still using a breadboard for the converter circuit because I've been too lazy to make a proper board, but it wouldn't be too hard and would be a lot more compact):
I then follow the xmodem procedure I mentioned above to send the book file through UART and wait a bit for the transfer to complete...
[root@kindle documents]# rx sherlock_holmes.epub
C
*** file: ext/books/sherlock_holmes.epub
$ sx ext/books/sherlock_holmes.epub
Sending ext/books/sherlock_holmes.epub, 16078 blocks: Give your local XMODEM receive command now.
Bytes Sent:2058112   BPS:10396

Transfer complete

*** exit status: 0 ***
[root@kindle documents]#
This book took about 3 minutes to transfer. Usual epub book sizes are between 100 KB to 10 MB, so transferring a new book takes from 10 seconds to 20 minutes depending on the book. It's significantly more time than it would've been through USB (a couple seconds) but since I take between one and two months to finish each book it's not a problem.
When the transfer is done, all that is left to do is unhook the cables and enjoy the reading! 🙂
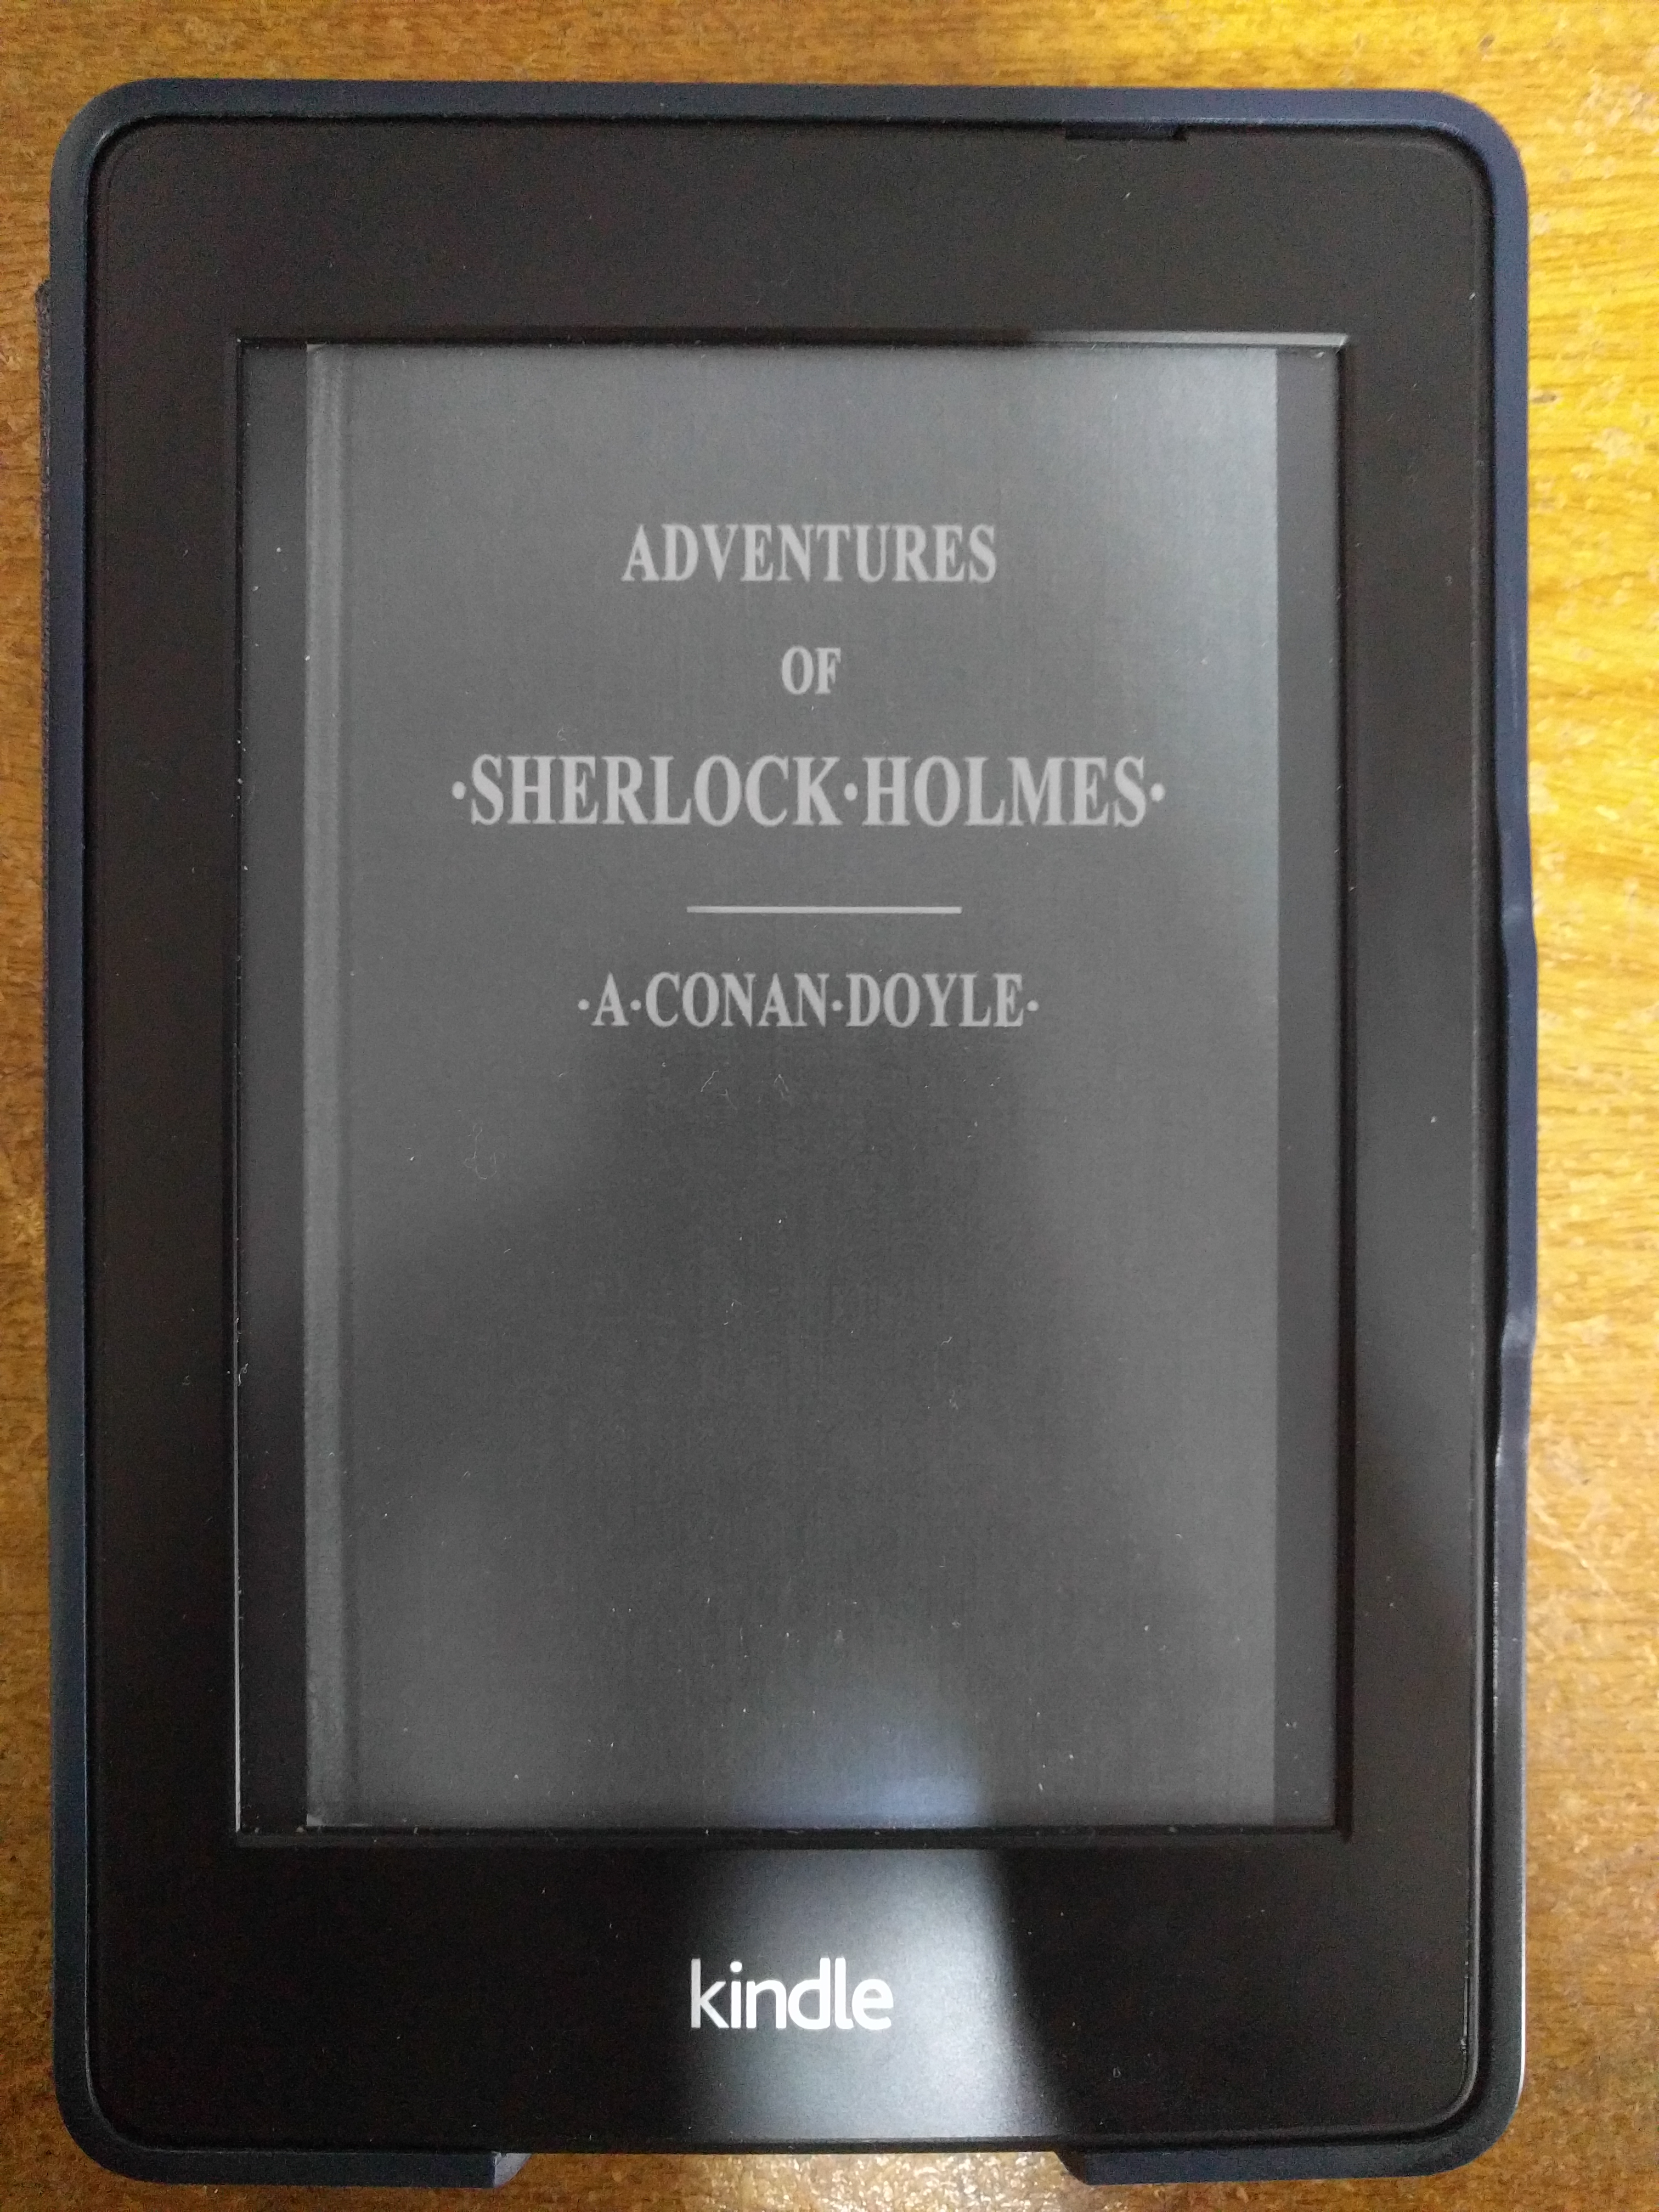
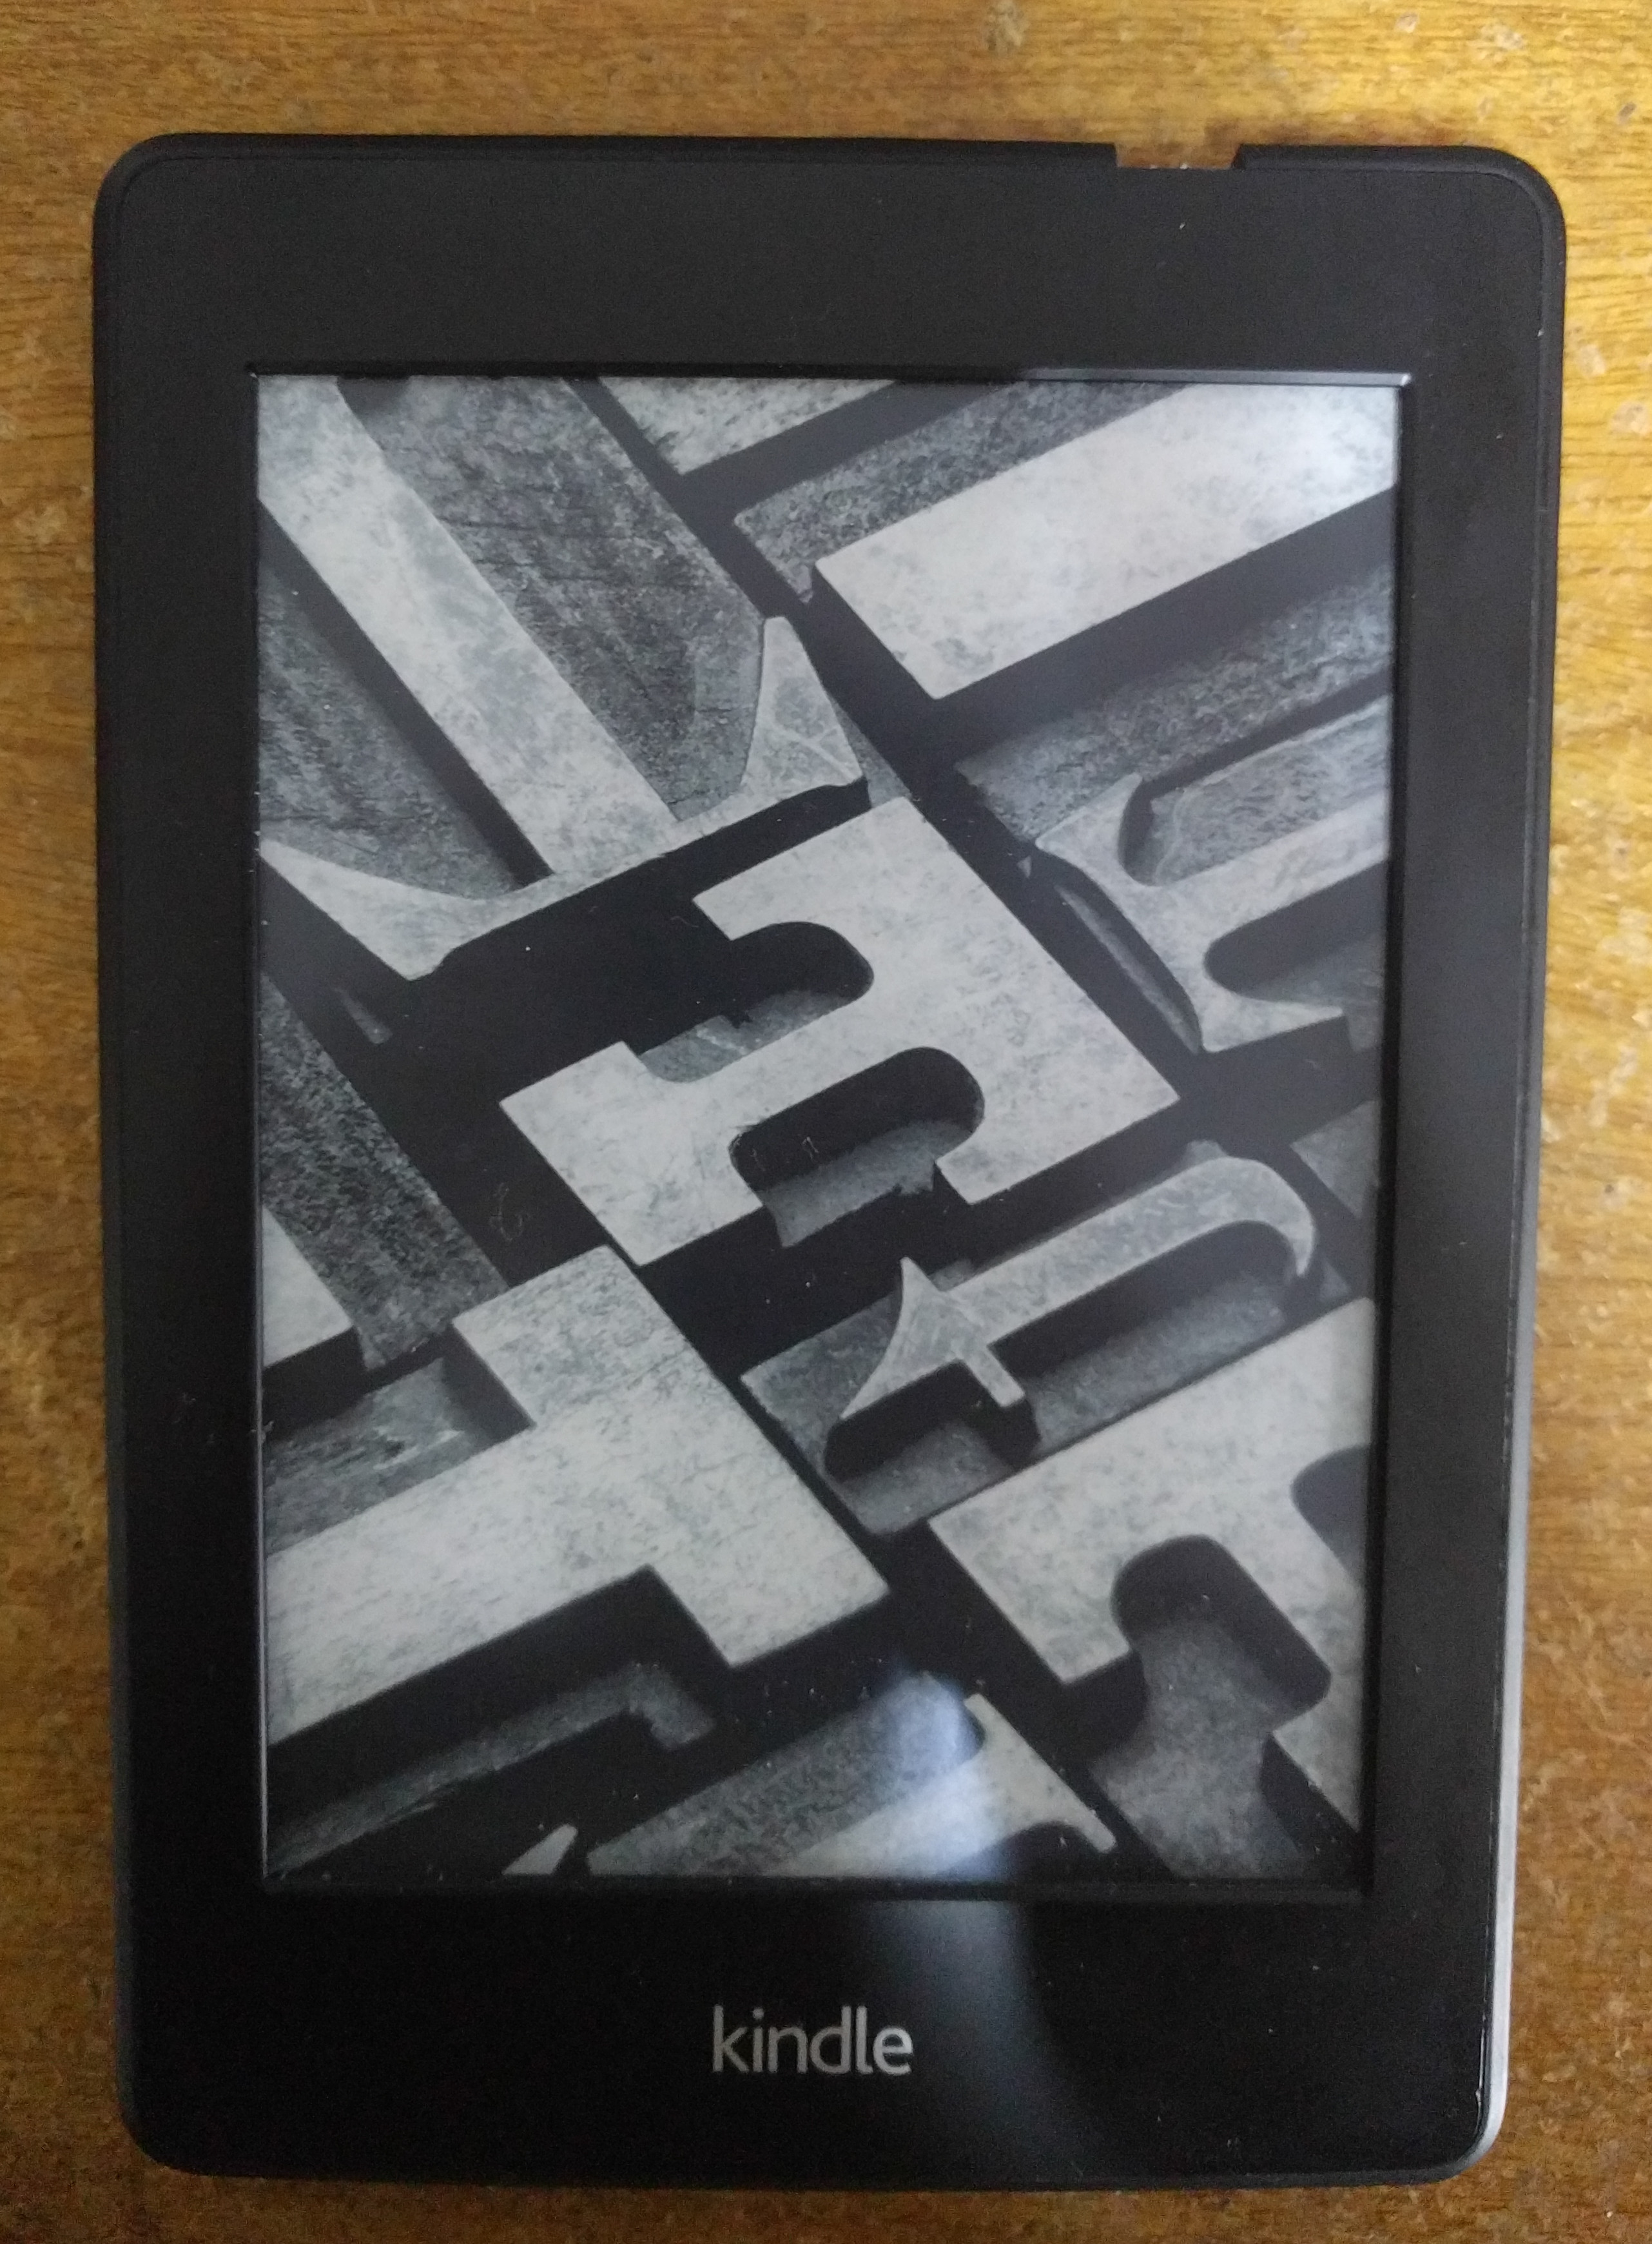
(I use that blue cover over the Kindle to protect it and the pins are short enough that they fit under it as well)
Note: That book is on public domain and can be downloaded for free on Project Gutenberg.
Conclusion
It took a bit more doing than I originally expected, but after all this I'm happy that I finally really own my Kindle and can have a better reading experience on it 🙂.